
Thinning Shears: How to Choose and Use Them Without Choppy Results
Most people who buy thinning shears use them once, look in the mirror, and see a patch that looks chewed rather than softened. The tool is rarely the problem. The usual causes are the wrong shear for the job, the cut placed too close to the scalp, or too many snips in one spot.
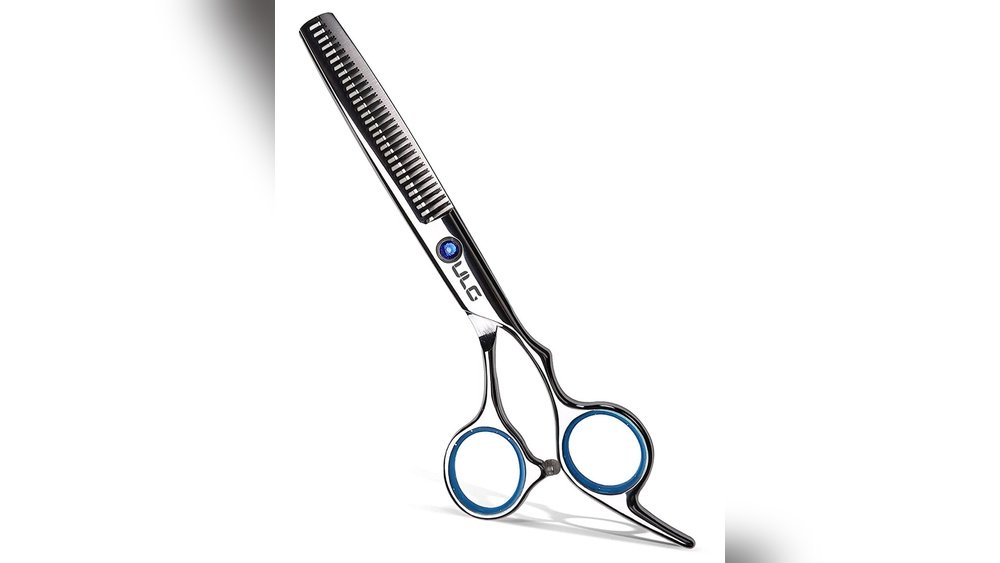
Quick answer: thinning shears are scissors with one straight blade and one toothed blade, so each close removes only some of the hair between the blades instead of all of it. They reduce bulk and soften hard lines without changing the length much. Pick one by how much hair it removes per cut (its cut rate), not just by its tooth count, and work in small, spaced sections away from the roots.
That cut-rate point is where most buying advice goes wrong. Joewell, a Japanese scissor maker, sorts its range by cut rate: volume-control models at roughly 5 to 35 percent, texture models at 10 to 30 percent, and “cut and thinning” models at 40 to 80 percent. Two shears with the same number of teeth can land in different groups, because tooth width, spacing and groove design matter too.
Names add to the confusion. “Thinning”, “blending”, “texturizing” and “chunking” shears overlap, and brands use the terms differently. This guide untangles them.
Below you will find a one-minute finder to match a shear to your hair, a comparison of the four types, a step-by-step method, the mistakes that leave holes, and how to choose and care for a pair.
Recommended Thinning Shears and Care Products
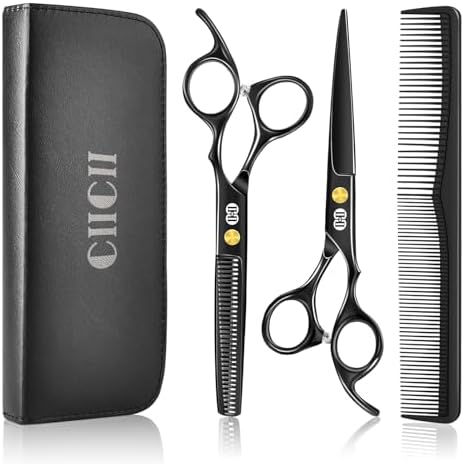
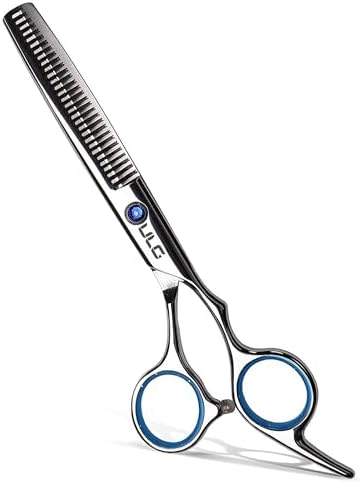
Every pick here is a thinning or blending shear, or a set that includes one: straightforward pairs for home trims, a finer 30-tooth blender, cutting-and-thinning sets, and a left-handed option. Check the tooth count and stated cut rate on each listing against the finder below. See how we test and choose products for the rules behind every pick.



Key Takeaways
- Thinning shears remove a share of the hair in each cut, which reduces bulk and softens lines without much change in length.
- Cut rate, the share of hair removed per close, matters more than tooth count when you choose a pair.
- Thinning, blending, texturizing and chunking shears overlap, and brands use the names differently; check the stated cut rate.
- Most choppy results come from cutting too near the roots, stacking cuts in one spot, or skipping a comb-through between snips.
- Fine hair needs a low cut rate and very few cuts; thick, coarse hair can take more.
- A steel grade on the label, such as 440C, does not guarantee quality on its own.
- Clean and oil the pivot regularly and have the blades professionally sharpened when they start to fold hair.

What Thinning Shears Actually Do
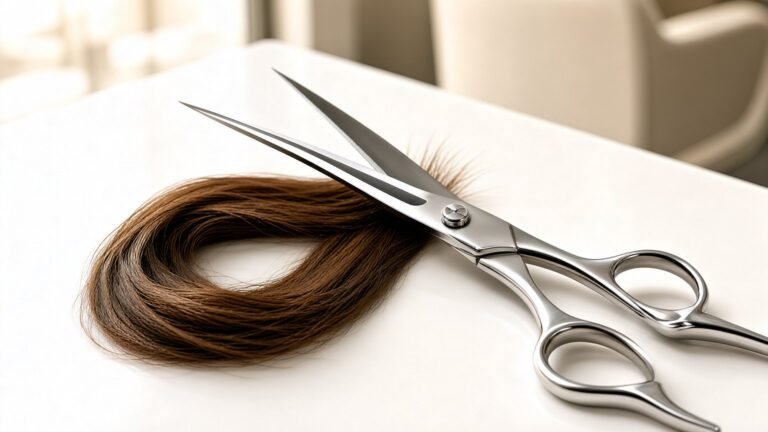
A regular pair of scissors has two smooth blades, so every close cuts every hair between them. Thinning shears swap one smooth blade for a row of teeth with gaps between them. Hair that lands in a gap slides past untouched, and only the hair caught between a tooth and the straight blade is cut.
The result is a cut that removes some strands at that point and leaves the rest at full length. Because the cut strands end at different heights, the hair sits flatter and the line between two lengths looks softer. That is the whole job: less weight, less bulk and fewer hard edges, while the overall shape stays about the same.
It also explains why thinning shears can go wrong. The strands they cut become short hairs underneath the longer ones. Placed well, those short hairs let the rest lie smoothly. Placed near the scalp or stacked in one spot, they stick up and create a fuzzy, puffy patch or a visible gap.
The One-Minute Shear Finder
Answer these four questions before you buy or pick up a pair. They point you to the right cut rate and tell you how cautious to be.
- What is your hair like? Fine or thin (A), medium (B), or thick and coarse (C)?
- What do you want to fix? A hard line between layers or a blunt edge (A), general puffiness or weight (B), or a very heavy, dense area (C)?
- Is the hair curly or coily? If yes, add one step of caution: go one letter lower and cut fewer times.
- How experienced are you? First time (stay at A or B) or confident with scissors (any)?
Mostly A: a fine blending shear with a low cut rate, roughly 10 to 25 percent. Use very few cuts, mainly on the ends.
Mostly B: a standard thinning shear in the middle range, roughly 20 to 35 percent. Work mid-lengths to ends in spaced sections.
Mostly C: a higher cut rate, or a chunking-style shear, used sparingly on the underneath layers where it will not show.
These ranges follow the way makers such as Joewell group their thinning scissors. Treat them as a starting point: the exact cut rate on a listing, when a brand states one, is more useful than the name on the box.
Thinning Shears vs Blending, Texturizing and Chunking Shears
These four names describe points on one spectrum: how much hair each close removes and how visible the result is. The labels are not standardized, so one brand’s “texturizer” can be another brand’s “thinner”.
| Type | Typical teeth | How much it removes | What it is for |
|---|---|---|---|
| Blending shears | Many fine teeth, close together | Low | Softening lines between lengths and finishing a haircut with barely visible change |
| Thinning shears | Many fine to medium teeth | Low to moderate | Removing bulk and weight evenly, especially on thicker hair |
| Texturizing shears | Fewer, wider teeth | Moderate | Adding separation and movement, often on shorter, choppier styles |
| Chunking shears | Few, wide, widely spaced teeth | High | Taking out large pieces of weight in very thick hair; easy to overdo |
Many people buy “thinning shears” when what they really want is a blending shear, because their problem is a visible line rather than too much hair. If your cut looks steppy, start with the lowest cut rate you can find. Our guides to texturizing shears and chunking shears go deeper on the two higher-removal types.
Tooth Count vs Cut Rate: Why the Number of Teeth Misleads
Listings love tooth counts: 20, 28, 30, 40. It is tempting to read more teeth as “finer” and fewer as “stronger”. That is roughly true, but not reliable, because the share of hair removed also depends on how wide each tooth is, how far apart the teeth sit, and whether the teeth have grooves that grip hair.
| Spec | What it tells you | What it does not tell you |
|---|---|---|
| Tooth count | Roughly how fine or chunky the pattern of removed hair will be | How much hair is removed per close |
| Cut rate (percent) | How much hair each close removes, which predicts how fast you thin an area | How visible each cut will be; wide-spaced teeth show more |
| Tooth shape and grooves | Whether hair is gripped and cut cleanly or slides off | Nothing on its own; check the cut rate too |
| Steel grade | The alloy family, such as 440C | How well that alloy was made, heat-treated and sharpened |
The takeaway: when a brand states a cut rate, trust it over the tooth count. When it does not, treat a high tooth count as “probably gentle” and test on a small, hidden section first.
How to Use Thinning Shears Step by Step
The method below keeps each cut small and spread out, which is what prevents the chewed look. Work slowly: you can always take a little more, but you cannot put hair back.
- Start with clean, detangled hair. Comb it smooth so you can see where the bulk sits. Many stylists prefer dry or lightly damp hair for thinning, because wet hair clumps and hides how much you are removing.
- Section the hair. Clip the top layers out of the way and begin underneath, where mistakes are least visible.
- Hold a small section away from the head. Take a section about one to two finger-widths wide and hold it between your fingers.
- Place the shears at mid-length or lower. Keep them well away from the roots, and position the blades vertically or at an angle rather than straight across.
- Make one close, then move on. Open and close once, slide the shears down or to a new section, and do not stack cuts in the same spot.
- Comb through and check. After each few sections, comb out the loose hairs, let the hair fall, and look in the mirror before cutting more.
- Finish with the top layers only if needed. Drop the top sections and use fewer, lighter cuts there, or skip them entirely.
Where to Place the Cut: Roots, Mid-Lengths and Ends
Placement decides whether short hairs support the style or stick out of it. The closer to the scalp you cut, the shorter the cut strands and the more likely they are to stand up.
- Ends: the safest zone. Cutting near the ends softens a blunt edge or a heavy outline with very little risk.
- Mid-lengths: where most bulk reduction happens on medium and thick hair. Space cuts widely and comb between them.
- Near the roots: reserved for experienced hands and very thick hair, and only on underneath layers. Short regrowth from root cuts can make hair look fuller and frizzier as it grows.
If you are also trimming length, do that first with regular hair-cutting scissors, then use thinning shears to refine. Our guide to hairdressing scissors covers choosing a pair for the main cut.
Matching Thinning Shears to Your Hair Type
The same pair of thinning shears behaves very differently on different hair. Use your hair type to decide the cut rate, where to cut and how many times.
- Fine or thin hair: use a low cut rate and cut only near the ends to soften a line. Heavy thinning makes fine hair look sparse and see-through.
- Medium hair: a standard thinning shear used on mid-lengths to ends works well. Keep cuts spaced and light.
- Thick or coarse hair: can take more cuts and a higher cut rate, focused on the underneath layers to remove weight without visible short pieces.
- Wavy, curly or coily hair: go gently. Curls shrink and spring up, so short cut strands can frizz or form a halo. Some curly-hair stylists prefer to remove bulk by cutting individual curls instead.
Mistakes That Leave Holes, and How to Avoid Them
Almost every bad result traces back to one of a few habits. The fix for each is simple once you know what causes it.
- Start underneath and work up
- Make one close per spot, then move
- Comb out loose hair and check often
- Keep cuts at mid-length or lower
- Match the number of cuts on both sides
- Test a new pair on a hidden section first
- Cut straight across near the scalp
- Close the shears repeatedly in the same place
- Thin wet hair without checking it dry
- Use a high cut rate on fine hair
- Thin the top layer first
- Use thinning shears to fix length
How to Choose Thinning Shears Worth Keeping
For home use you do not need salon-grade tools, but a few features separate a pair that cuts cleanly from one that folds and pulls hair.
- Stated cut rate or clear tooth count: choose the lowest cut rate that suits your hair, especially for your first pair.
- Adjustable tension screw: lets you tighten the blades if they start to fold hair or loosen them if they feel stiff.
- Size: most pairs sold for home use are about 6 to 6.7 inches long. Longer blades cover more hair per cut but are harder to control around the ears and neckline.
- Handle shape: an offset handle can be more comfortable for long sessions; a symmetric handle is easy to use from either side.
- Handedness: left-handed users cut more cleanly with true left-handed shears, where the blades are reversed, not just a flipped handle.
- Steel: stainless steel is standard. Grades such as 440C are common in better shears, but the grade alone is not a guarantee.
On that last point, Japanese maker Yamamoto Scissors explains that steels like 440C follow a standard recipe that any maker can use, so the quality depends on the ingredients and on who produces it. A well-made pair from a lesser-known alloy can outperform a poorly finished pair stamped 440C.
Cleaning, Oiling and Sharpening Thinning Shears
Thinning shears have more edges than regular scissors, so hair, product and moisture build up faster between the teeth. A minute of care after each use keeps them cutting cleanly.
- Wipe the blades and teeth with a soft, dry cloth after every use to remove hair and product.
- Open the shears and wipe along the pivot area, where hair tends to collect.
- Put a small drop of oil at the pivot, open and close a few times, and wipe off the excess. Camellia oil is a traditional choice for Japanese blades.
- Store them closed, in a case or pouch, away from damp bathrooms.
- Have them sharpened by a specialist when they start to fold or push hair instead of cutting it. The teeth need proper equipment, so home sharpeners are a poor fit.
Thinning Shears vs Texturizing Shears on Thick Hair
Thinning shears use many fine teeth to remove a little hair with each cut; texturizing shears use fewer, wider teeth to remove more in each spot. Brands use the two names loosely, so the tooth count and the stated cut rate on the listing are better guides than the label on the box.
Thick hair can take either tool, but the safest start is the finer-toothed pair used sparingly on the underneath layers. Both tools go wrong in the same way: cuts placed too close to the scalp, or several cuts stacked in one spot, which leaves a hole that takes months to grow out. Fine, thin or curly hair needs far more caution than thick, straight hair, and curls in particular can frizz when weight is removed from the ends.
Neither tool fixes a wrong length or shape. Regular scissors do that job first; toothed blades only soften what is already cut. Keep them clean, lightly oiled and professionally sharpened, because a dull toothed blade folds hair instead of cutting it.
Honest Limits
Thinning shears cannot fix a haircut with the wrong shape or length. They refine a cut; they do not create one. If a style is too short on one side or the layers are in the wrong place, thinning will not balance it.
They will not make frizzy hair smooth or stop hair from growing back full. In fact, hair thinned close to the roots often looks fuller as the short pieces grow, which is the opposite of what most people want. On curly and coily hair, results are the least predictable.
The specs in listings also have limits. Many budget shears do not state a cut rate at all, and tooth counts alone do not tell you how much hair a pair removes. Customer ratings tell you about build quality and value, not how a pair will behave on your particular hair.
When to See a Professional
Home thinning works well for maintenance between salon visits. Book a stylist instead when:
- You want a big change in shape or length, not just less bulk
- Your hair is curly or coily and you have not thinned it before
- You already have a visible hole, step or puffy patch to correct
- You are cutting a child’s hair and they cannot stay still around sharp blades
- Your hair is fine and thinning, and you are unsure whether removing bulk will make it look sparse
If hair loss or sudden thinning is the reason you are reaching for these tools, that is a question for a doctor or dermatologist, not a pair of shears.
- Razor combs: how a razor comb softens and thins hair, and when to avoid it.
- Offset handle shears: a handle shape that can ease wrist and elbow strain.
- Barber shears: longer blades for scissor-over-comb work on short cuts.
- Sharpening thinning shears: what is safe at home and when to use a pro.
- Shears that pull or fold hair: the three causes and the fix for each.
- Cutting your own bangs: a dry-cut method that avoids the too-short trap.
Frequently Asked Questions
What are thinning shears used for?
They remove some of the hair in each cut to reduce bulk and weight and to soften hard lines between layers, without changing the overall length much.
Are thinning shears the same as blending shears?
They overlap. Blending shears usually remove less hair per cut and are used to soften lines, while thinning shears focus on removing bulk. Brands use the names differently.
How many teeth should thinning shears have?
Many home thinning shears have around 20 to 40 teeth, but the cut rate matters more. Pick the lowest cut rate that suits your hair and check it on the listing.
Can I use thinning shears on fine hair?
Yes, but use a low cut rate and cut only near the ends. Heavy thinning on fine hair can make it look sparse.
Should I use thinning shears on wet or dry hair?
Many stylists prefer dry or lightly damp hair, because wet hair clumps and hides how much you are removing. Always check the result on dry hair.
Why does my hair look choppy after using thinning shears?
Usually because cuts were stacked in one spot, placed too close to the roots, or made without combing out between cuts. Space cuts out and check often.
Do thinning shears damage hair?
Sharp shears cut cleanly and do not damage the strands. Dull shears can fold or pull hair, so keep them clean, oiled and professionally sharpened.
Can thinning shears be used on curly hair?
Use great caution. Short cut strands in curly hair can frizz or stick out, so some curly-hair stylists avoid thinning shears and cut individual curls instead.
How often should thinning shears be sharpened?
When they start to fold or push hair instead of cutting it. How often depends on use and care. A specialist sharpener has the tools for toothed blades.
Do I need left-handed thinning shears?
If you cut with your left hand, yes. True left-handed shears have reversed blades, so they cut cleanly instead of pushing hair apart.
Thinning shears or texturizing shears for thick hair?
Start with thinning shears (more, finer teeth) on the underneath layers. Move to a wider-toothed texturizing pair only if the hair still feels heavy after a wash and dry.
Are thinning and texturizing shears the same thing?
Often sold as if they were. Judge by tooth count and cut rate: more teeth remove less per cut and are the more forgiving choice.
The Bottom Line
Thinning shears are simple tools that reward a light touch. Choose one by cut rate rather than tooth count, match it to your hair type, and treat blending, thinning, texturizing and chunking as points on one scale rather than different tools.
Then work underneath first, keep cuts away from the roots, make one close per spot and comb out often. Keep the shears clean and oiled, get them sharpened when they start to fold hair, and book a stylist for anything more than maintenance.



14 Comments