Texturizing Shears: Unlock Salon-Perfect Hair at Home
Texturizing Shears: The Complete Guide For Stylists And Enthusiasts
Hair is more than just something we grow—it’s a powerful way to express ourselves. Every haircut tells a story, and for stylists, the tools they choose shape those stories. One tool stands out for its unique ability to add dimension, movement, and softness: texturizing shears. Whether you’re a seasoned hairdresser or someone curious about hair cutting, understanding these shears can transform the way you approach hair styling.
This article dives deep into what makes texturizing shears special, how they work, which types are best for different hair goals, and how to use them confidently. Along the way, you’ll discover tips that even many beginners miss, see real examples, and get answers to common questions.
If you want your haircuts to feel lighter, more modern, or simply more professional, you’re in the right place.


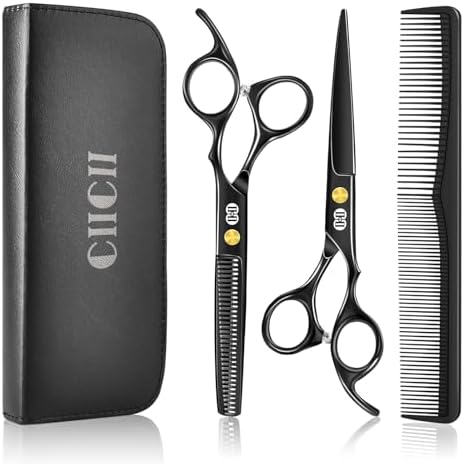
What Are Texturizing Shears?
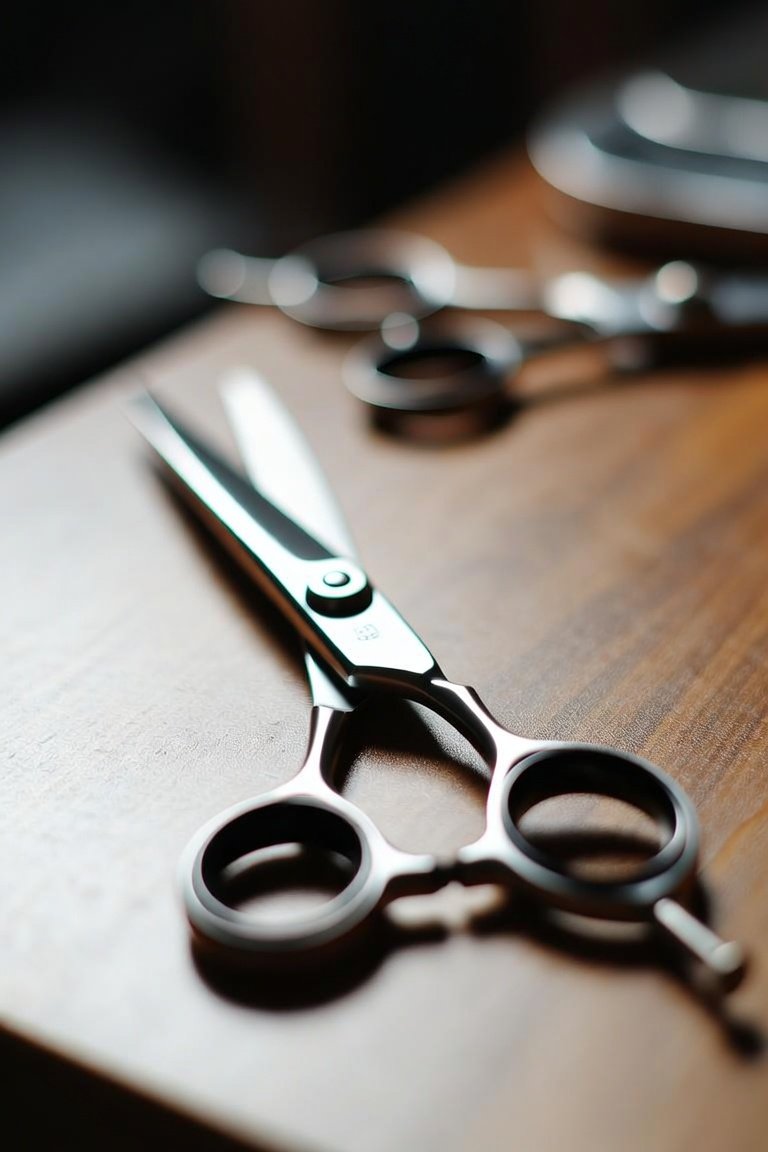
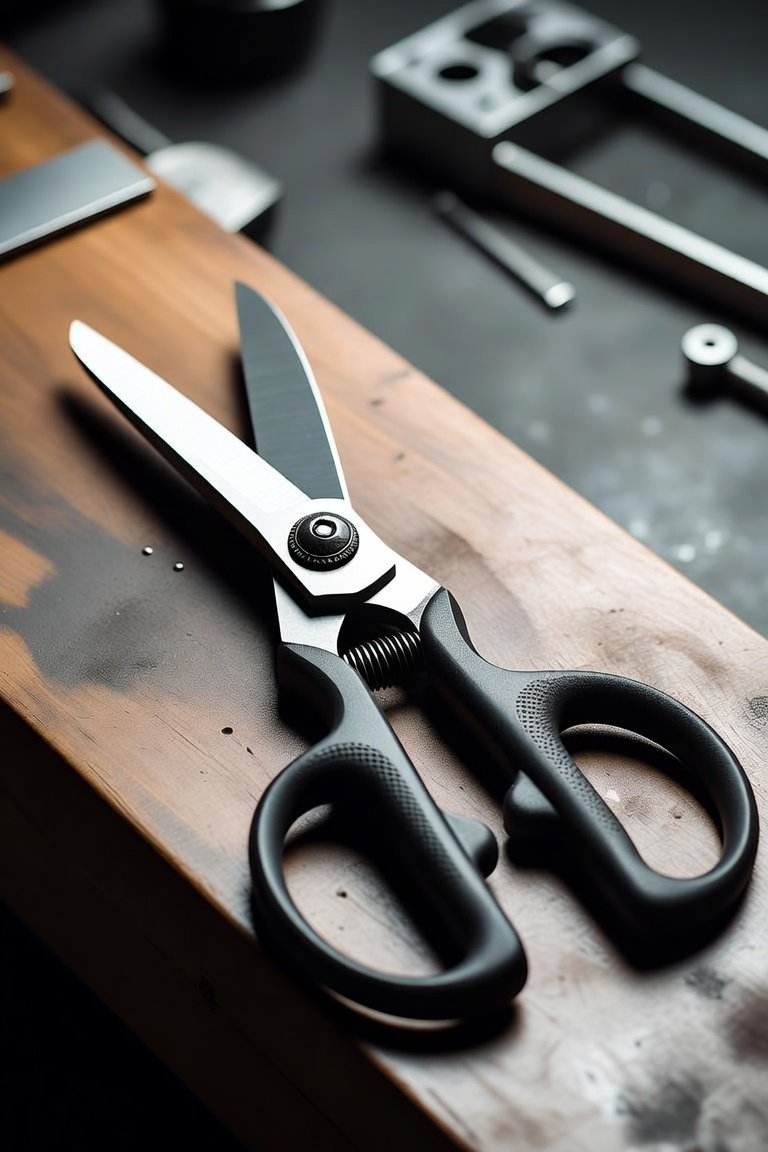
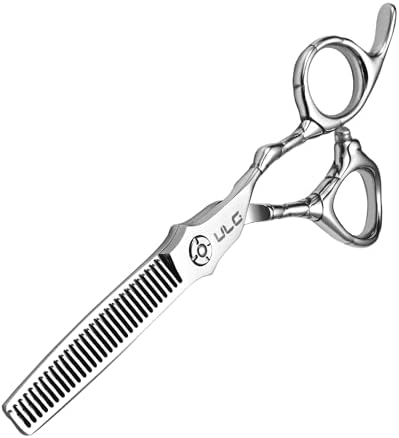
Texturizing shears are specialized scissors used in hair cutting to create texture, remove bulk, and blend layers. Unlike regular cutting shears, which have two straight blades, texturizing shears have one or both blades featuring teeth or notches. These teeth cut only part of the hair strand, leaving the rest untouched, so the result is soft, blended, and less blunt.
They’re sometimes called thinning shears, blending shears, or chunking shears, but each term describes a slightly different tool (more on that later). The main purpose is to create movement and texture without sacrificing length.
Most texturizing shears are made from stainless steel, ensuring durability and easy cleaning. Some premium models use Japanese steel or add ergonomic handles for comfort during long cutting sessions. The quality and design of the shears can impact not only the results but also the ease of use.
Types Of Texturizing Shears
There isn’t just one kind of texturizing shear. Stylists use different types depending on the effect they want and the hair type they’re working with. Here’s a quick comparison to clarify the main types:
| Type | Blade Design | Main Purpose | Teeth Count |
|---|---|---|---|
| Thinning Shears | One notched, one straight | Remove bulk, blend | 20–40 teeth |
| Blending Shears | One notched, one straight | Soft layers, smooth transitions | 30–40 teeth |
| Chunking Shears | Wide teeth, spaced apart | Heavy texture, bold effects | 5–15 teeth |
Thinning Shears
These are the most common type. They gently remove bulk and soften lines, making them ideal for thick hair or blending between layers. With more teeth (usually 20–40), they cut less hair with each snip, so the effect is subtle.
Blending Shears
Blending shears create smooth transitions between layers. They’re used near the ends of hair to prevent harsh lines and give a natural finish. Stylists often use them after layering or for blending bangs.
Chunking Shears
Chunking shears have fewer, wider teeth. They remove larger sections of hair, creating bold texture. This tool is best for dramatic styles or when working with very thick hair.
Why Stylists Use Texturizing Shears
Texturizing shears are a staple in salons for good reason. They solve problems that regular scissors can’t, and they help achieve modern, stylish looks.
1. Reduce Bulk
Thick hair can look heavy and unmanageable. Texturizing shears remove some strands, making the hair lighter and easier to style.
2. Blend Layers
After layering, harsh lines can appear. Shears soften these lines so layers flow naturally.
3. Add Movement
Flat hair lacks energy. Shears add dimension and movement by cutting select strands.
4. Create Softness
Blunt cuts can feel sharp. Shears soften edges for a more relaxed look.
5. Fix Mistakes
If a haircut looks uneven or too heavy, texturizing shears can help correct it without major changes.
Most stylists rely on these shears to finish a haircut. Some even use them as the main tool for certain styles, especially when aiming for a lived-in, tousled effect.
How Texturizing Shears Work
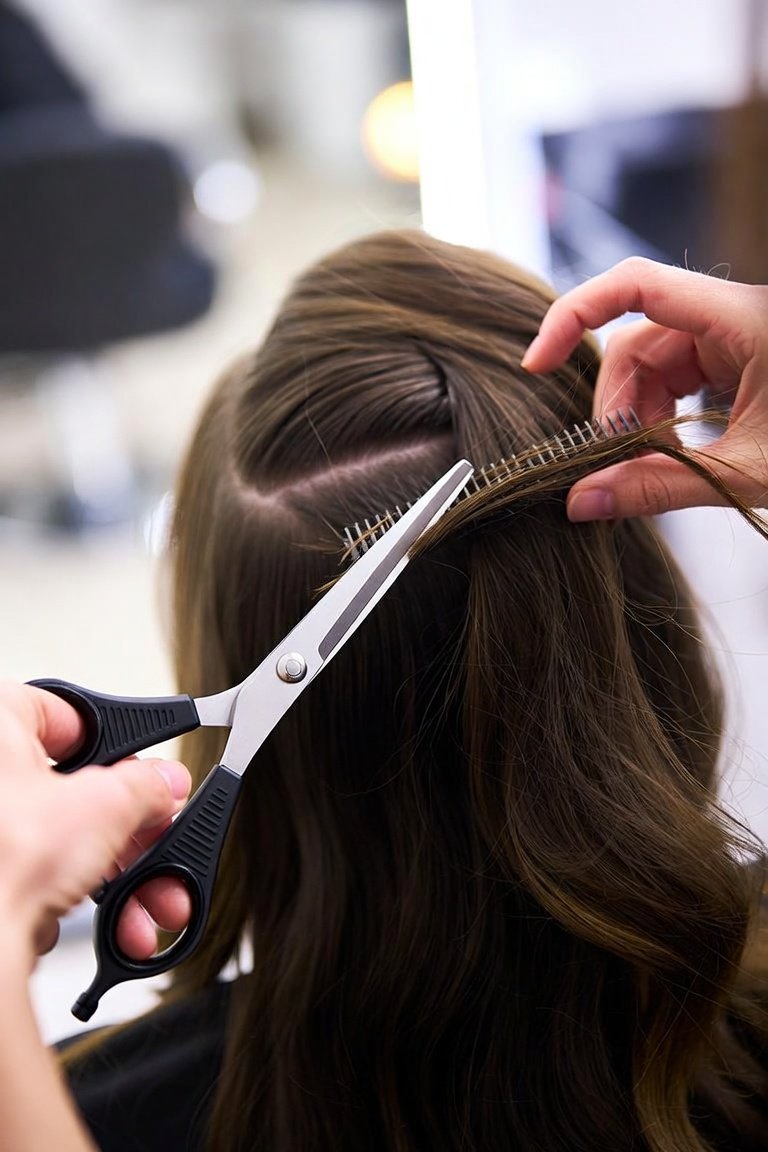
The magic of texturizing shears lies in their teeth. When you close the blades, only the hair caught between the teeth is cut. The rest passes through untouched. This leaves sections thinner, with random lengths, which creates a textured look.
Here’s what happens in practice:
- The stylist takes a section of hair.
- Shears are placed perpendicular to the section.
- As the blades close, about 25–50% of the hair is cut, depending on the teeth.
- The section is combed, and the effect is checked.
The process can be repeated until the desired look is achieved. The stylist must be careful not to overuse the shears—too much texturizing can make the hair look wispy or uneven.
Choosing The Right Texturizing Shears
Not all shears are equal. Choosing the best tool depends on hair type, desired style, and skill level. Here’s a helpful comparison for buyers:
| Factor | Why It Matters | What to Look For |
|---|---|---|
| Blade Material | Durability and sharpness | Japanese steel, stainless steel |
| Handle Design | Comfort during use | Ergonomic, offset handles |
| Teeth Count | Amount of hair cut | More teeth = softer effect; fewer teeth = chunkier effect |
| Size | Control and reach | 5–6.5 inches for most hands |
| Price | Quality vs budget | Professional shears cost $50–$300 |
Common Buyer Mistakes
- Ignoring the teeth count: Buying shears with too few or too many teeth for your needs can lead to disappointment.
- Choosing based on price only: Cheap shears may feel rough or damage hair.
- Not considering handle comfort: If you cut hair often, ergonomic handles are a must.
- Skipping maintenance tools: Shears need oil and cleaning cloths to last.
Non-obvious insight: High-quality shears don’t just last longer—they cut more smoothly, reducing wrist strain and preventing split ends.
How To Use Texturizing Shears: Step-by-step
Using texturizing shears requires care and practice. Here’s a step-by-step guide for beginners:
1. Start With Dry, Clean Hair
Wet hair hides texture. Always use shears on dry hair to see the real effect.
2. Section The Hair
Divide hair into small, manageable sections. This helps you control the process and avoid mistakes.
3. Hold The Shears Correctly
Place your thumb in the smaller hole, ring finger in the larger one. Rest your pinky on the tang for balance.
4. Position Shears Perpendicular
Hold shears perpendicular to the section for even results.
5. Cut Sparingly
Close the shears gently. Remove only a little at a time. Comb out the section to check the look.
6. Repeat As Needed
Move through all sections, cutting where needed. Step back often to check the overall shape.
7. Blend And Style
Once texturizing is done, style the hair as usual. The new texture will be visible.
Practical Example
Imagine you want to reduce bulk in thick, straight hair. After the main haircut, take a section from the crown. Use thinning shears near the roots, close them gently, and comb out. Repeat for the sides. The result: lighter, more manageable hair that still looks full.
Common Mistakes
- Over-texturizing: Too many cuts make the hair look thin or damaged.
- Using on wet hair: The effect is hard to see and can lead to uneven results.
- Cutting too close to the scalp: This causes spiky regrowth or visible holes.
Non-obvious insight: It’s better to texturize less than you think—hair can always be thinned more, but you can’t undo over-texturizing.
Texturizing Shears For Different Hair Types
Not every hair type needs the same approach. Here’s how texturizing shears work with different textures:
Straight Hair
Texturizing shears can add movement and prevent flatness. Use blending shears for soft layers and thinning shears to reduce bulk.
Wavy Hair
Shears help define waves and remove weight. Chunking shears can be used for bold effects, but blending shears keep the look natural.
Curly Hair
Curly hair needs careful handling. Use shears only near the ends to avoid frizz. Avoid thinning near the roots, as it can create an uneven shape.
Fine Hair
Fine hair is easy to over-texturize. Use shears sparingly, focusing on the ends for softness. Thinning shears with many teeth are best for subtle effects.
Thick Hair
This is where texturizing shears shine. Remove bulk with chunking shears, blend layers for manageability, and create shape.
Advanced Techniques For Experienced Stylists
For professionals and confident home users, texturizing shears offer creative possibilities:
Point Cutting
Combine texturizing shears with regular shears for point cutting. Cut into the ends at an angle to add softness.
Slide Cutting
Use shears while sliding down the hair shaft for gradual removal. This technique works well for long layers.
Razor Blending
Some stylists pair texturizing shears with razors to create ultra-soft, feathered effects.
Hidden Texturizing
Texturize only the under-layers for invisible lightness. This is great for thick hair that needs to look full but feel lighter.
Non-obvious insight: Advanced techniques often require multiple tools. Experienced stylists may switch between texturizing shears and regular scissors to achieve the best blend.
Caring For Texturizing Shears
Proper care ensures your shears last and cut smoothly. Here’s what you need to do:
1. Clean After Every Use
Wipe blades with a soft cloth. Remove hair and product residue.
2. Oil The Pivot
Apply a drop of oil where the blades meet. This reduces friction.
3. Store Safely
Use a protective case. Avoid dropping or leaving shears exposed.
4. Sharpen Regularly
Professional sharpening is needed every 6–12 months, depending on use.
5. Check Screws And Tension
Loose screws make shears less effective. Adjust tension so blades close smoothly.
Non-obvious insight: Many stylists forget to check blade tension. Too tight or too loose blades can damage hair and make cutting difficult.
Comparing Texturizing Shears To Other Hair Cutting Tools
Texturizing shears are just one tool in a stylist’s kit. Here’s how they compare to others:
| Tool | Main Use | Effect on Hair | Best For |
|---|---|---|---|
| Regular Shears | Cutting length | Blunt, clean lines | Basic cuts, precise shapes |
| Razor | Layering, feathering | Soft, wispy ends | Fine hair, creative styles |
| Texturizing Shears | Removing bulk, blending | Soft, blended texture | Thick hair, modern looks |
Real-world Statistics And Trends
Texturizing shears are more popular than ever. According to a 2026 industry survey, over 80% of professional stylists use texturizing shears for finishing cuts. Consumer demand for textured, layered hairstyles has grown by 35% in the past five years. Salons that offer advanced texturizing services report higher client retention rates and more referrals.
Online searches for “texturizing shears” have doubled since 2020, especially as home haircutting became common during lockdowns. Many people discovered that simple shears weren’t enough to achieve salon-quality results.
Practical Tips For Beginners And Home Users
If you’re new to texturizing shears, here are some tips to help you succeed:
- Practice on a wig or mannequin first: This builds confidence and skill without risking your hair.
- Watch video tutorials: Visual learning helps understand angles and movements.
- Start slow: Take off less hair than you think you need. It’s easy to add more texture later.
- Check your progress often: Step back and look at the overall shape before continuing.
- Invest in quality shears: Cheap tools can damage hair and are harder to control.
One mistake many beginners make is cutting too close to the scalp. Always texturize near the mid-lengths and ends for a natural look.
Texturizing Shears In Professional Haircutting
In the salon, texturizing shears are more than just a finishing tool—they’re essential for creating today’s popular styles. Stylists use them to achieve looks like:
- Shag cuts
- Layered bobs
- Blended bangs
- Lived-in waves
Many stylists report that clients return more often for texturized cuts, as the style grows out gracefully and needs less maintenance. Advanced training in texturizing can set a stylist apart and increase their value in the industry.
For stylists working with diverse clients, knowing how to adapt texturizing techniques to different hair textures is key. Some salons even offer specialized services focused on texturizing for thick or curly hair.
Frequently Asked Questions
What Is The Difference Between Texturizing Shears And Thinning Shears?
Texturizing shears and thinning shears are similar, but texturizing shears are designed to add texture and movement, while thinning shears mainly remove bulk. Thinning shears usually have more teeth and produce a softer, subtler effect. Texturizing shears can have fewer teeth for bolder texture.
Can I Use Texturizing Shears On Curly Hair?
Yes, but with care. Use shears only on the ends of curly hair to avoid frizz and uneven shapes. Avoid thinning near the roots, as this can make curls lose their definition.
How Often Should Texturizing Shears Be Sharpened?
Professional stylists should have their shears sharpened every 6–12 months. Home users may need sharpening less often, but dull shears can damage hair and make cutting difficult.
Are Expensive Texturizing Shears Worth The Investment?
Quality matters. Expensive shears made from Japanese steel or premium materials cut more smoothly, last longer, and are easier on your hands. Investing in quality tools pays off in better results and less effort.
Where Can I Find More Information About Hair Cutting Tools?
A reliable resource for understanding hair cutting tools is the Wikipedia Hair Shears page, which covers different types and their uses.
Hair styling is an ever-evolving art, and the right tools make all the difference. Texturizing shears give stylists and home users the power to create modern, blended, and manageable hair. With the knowledge and tips in this guide, you’re ready to explore new styles and achieve professional results.
Whether you’re cutting your own hair or working with clients, texturizing shears can transform a simple haircut into a statement of style.