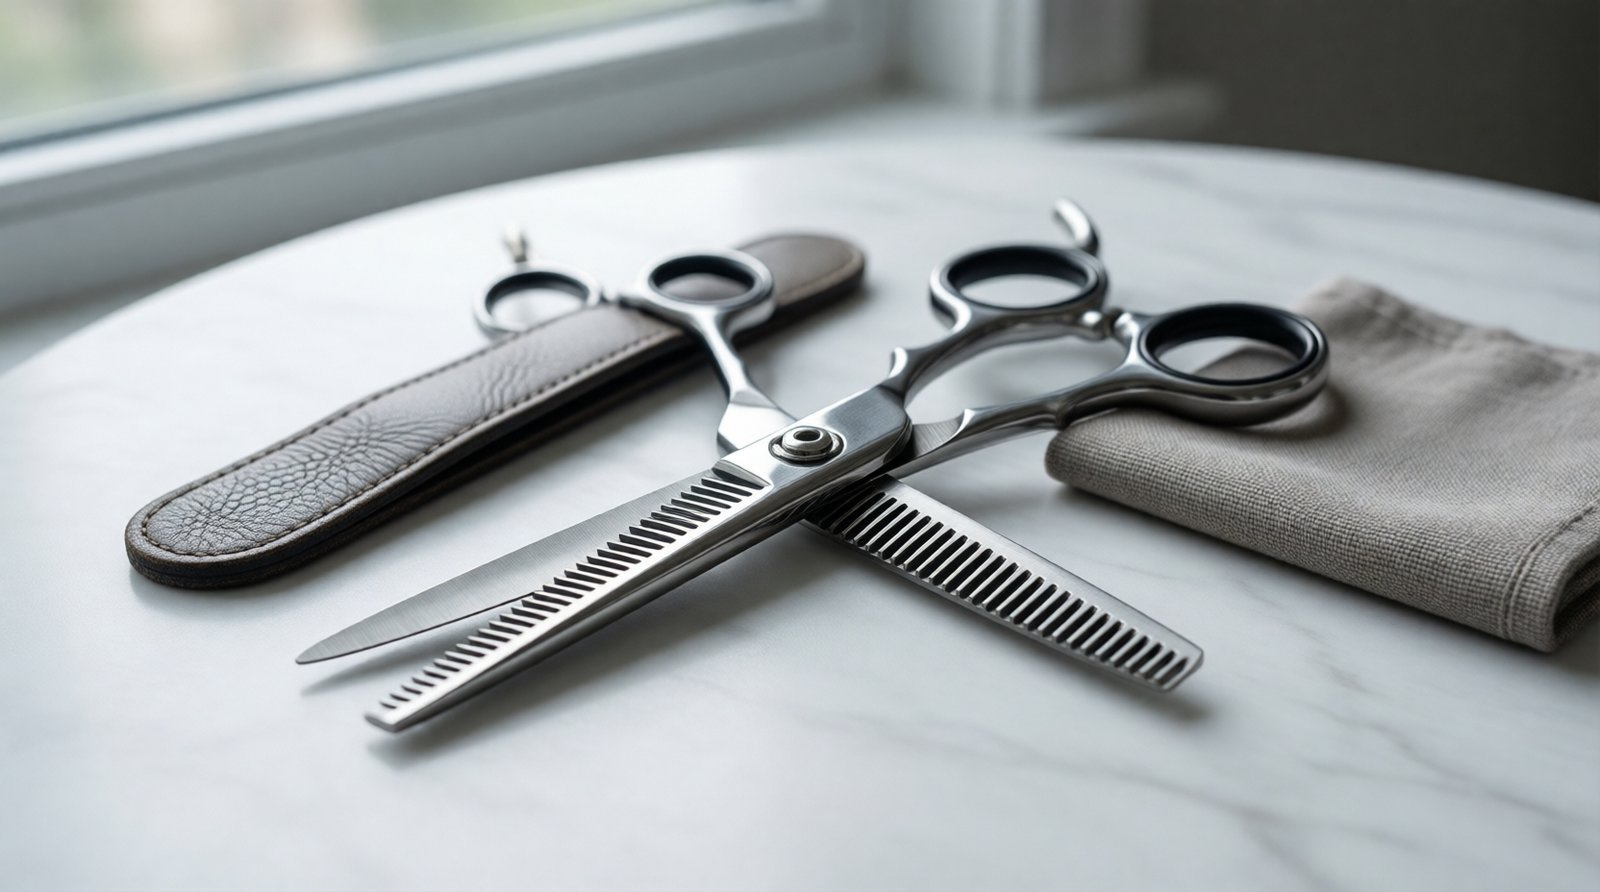
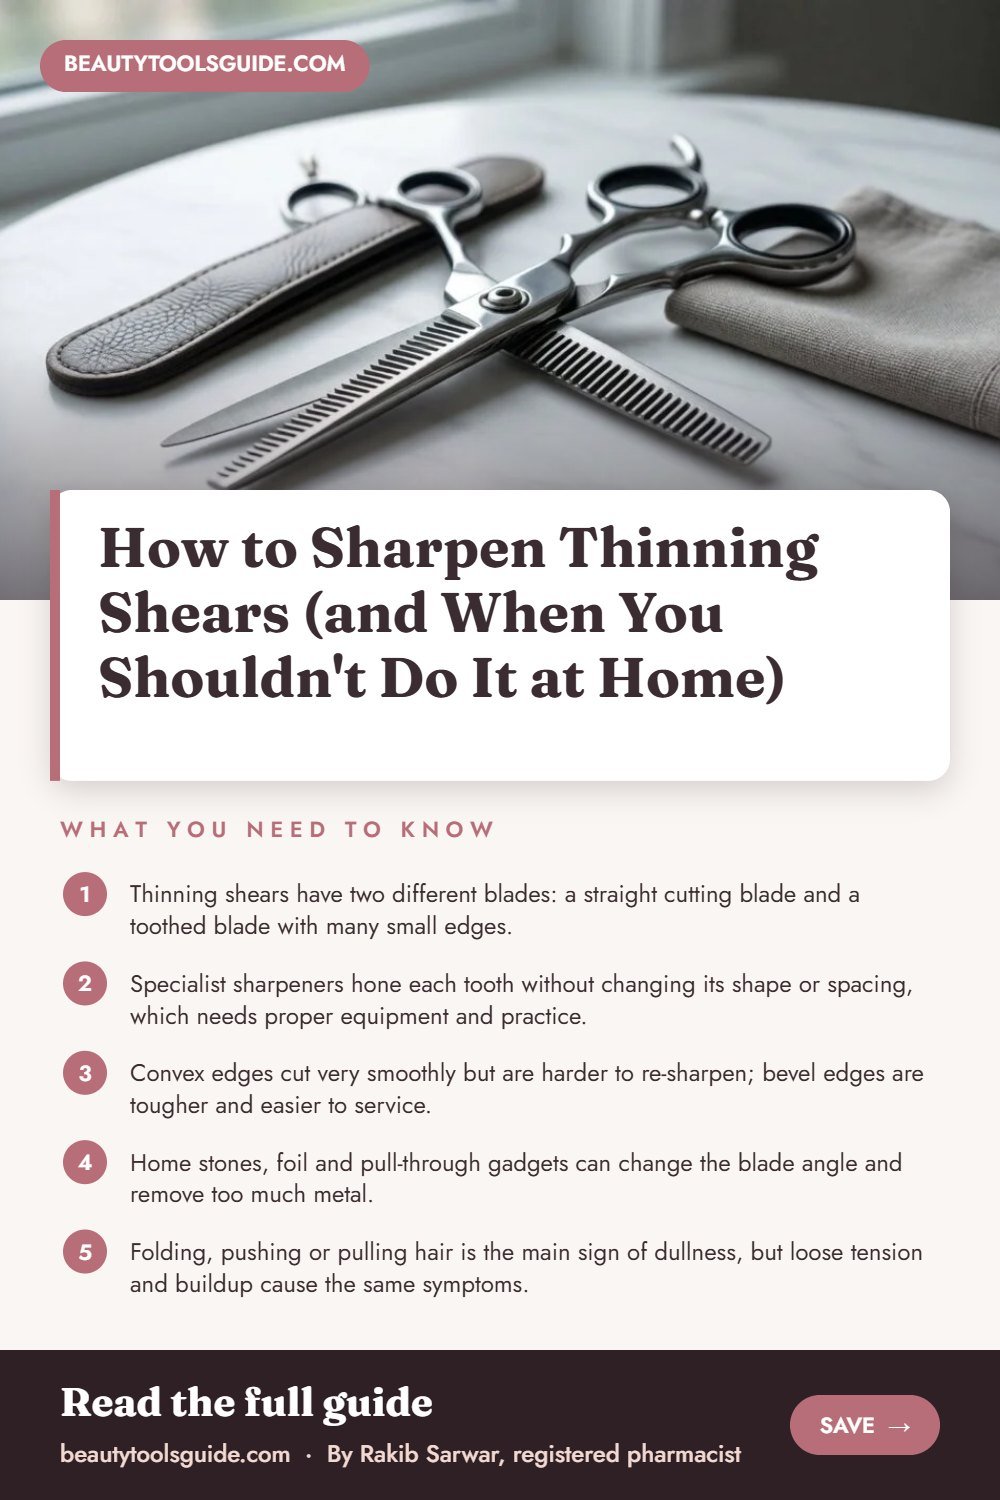
How to Sharpen Thinning Shears (and When You Shouldn’t Do It at Home)
Can you sharpen thinning shears yourself with a stone, a strip of foil or a gadget from a hardware store? You can try, but it is one of the fastest ways to turn a decent pair into a pair that chews hair. The toothed blade is the problem, and it is also the part most home guides skip.
Quick answer: most people should not sharpen thinning shears at home. The toothed blade has many tiny edges that must keep their exact shape and spacing, so specialist sharpeners hone them one at a time on proper equipment. At home, clean, dry and oil the shears, keep the tension right, and store them safely. Then send a good pair to a qualified sharpener when it starts to fold hair, or replace a budget pair.
That advice is not just caution. Barber supply and sharpening services describe thinning shears as a two-part job: the straight blade is sharpened, and each tooth is honed without changing its shape. Many better shears also have a convex edge, and one sharpening service warns that the wrong technique can flatten it and shorten the shear’s life.
Home methods still circulate, however. Some home guides say you can hone the straight blade on a stone, and bevel edges are the easier type to sharpen. So the real question is which pair you own, not whether sharpening is possible.
Below: a dullness self-check, convex vs bevel edges, home methods vs professional service, a care routine, and when replacing makes more sense.
Recommended Replacement Thinning Shears and Shear Care Picks
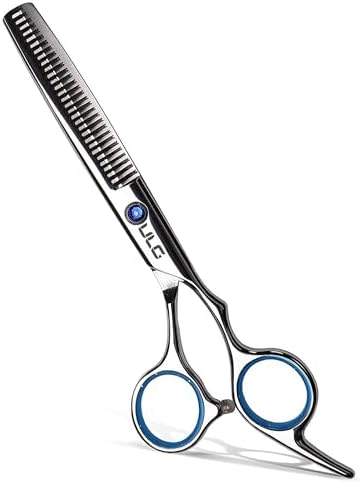
This list is mostly thinning shears, plus two care items, and it leaves out DIY sharpeners on purpose, because this guide advises against using them on toothed blades. The thinning shears suit a budget pair that makes more sense to replace than to service. The camellia oil and pouch cover the daily care and storage that keep any pair sharp for longer. See how we test and choose products for the rules behind every pick.




Key Takeaways
- Thinning shears have two different blades: a straight cutting blade and a toothed blade with many small edges.
- Specialist sharpeners hone each tooth without changing its shape or spacing, which needs proper equipment and practice.
- Convex edges cut very smoothly but are harder to re-sharpen; bevel edges are tougher and easier to service.
- Home stones, foil and pull-through gadgets can change the blade angle and remove too much metal.
- Folding, pushing or pulling hair is the main sign of dullness, but loose tension and buildup cause the same symptoms.
- Daily wiping, regular oiling at the pivot and correct tension let a pair stay sharp for much longer.
- For budget pairs, replacing them often makes more sense than paying for a specialist service.
Dull or Just Dirty? Check Before You Sharpen Thinning Shears
Many pairs that “need sharpening” actually need cleaning, oil or a tension tweak. Hair, styling product and dried moisture build up around the pivot and between the teeth. As a result, the blades drag and push hair instead of slicing it. So run through this self-check before you book a service or reach for a stone.
The two-minute self-check
- Wipe and look. Clean the blades with a soft cloth. Is there gummy residue, rust spots or hair packed between the teeth? If yes, clean and oil first, then retest.
- Test the tension. Hold one handle, lift the other to open the shears, and let go. If the blade drops shut with no resistance at all, the tension is likely too loose. If it barely moves, it may be too tight.
- Cut a few dry, clean hairs. Do the blades cut cleanly along the whole length, or does hair bend, slip or get pulled near the tips?
- Check the hair ends. Fresh split ends or a frayed, whitish look on cut ends suggest the edge is no longer slicing cleanly.
- Look for damage. Is a tooth bent, chipped or visibly shorter? Did the shears fall on a hard floor recently?
Clean and loose or tight only: adjust tension, oil the pivot and test again. Sharpening may not be needed yet.
Still folding or pulling after cleaning and a tension fix: the edge is dull. Send a good pair to a specialist.
Bent or chipped teeth, or a drop on a hard floor: stop using them and get a professional opinion; repair may or may not be possible.
What Professionals Look For
These signs match what barber supply guides list as cues for service: hair that bends instead of cutting, new split ends after a cut, and more hand effort than usual. A UK scissor service also mentions pulling and a white cast on the ends. In short, the hair tells you when the edge is going.
Why the Toothed Blade Changes Everything
A plain pair of hair scissors has two cutting edges that meet along their length. Thinning shears replace one of those with a comb-like blade. Hair that falls into a gap between teeth is spared, while hair trapped between a tooth and the straight blade is cut. That is how thinning shears remove only part of a section.
Because of this design, a sharpener cannot treat the toothed blade as one long edge. Each tooth has its own small cutting surface. If one tooth loses more metal than its neighbors, it stops meeting the straight blade evenly. Then hair can slip past it or get pinched instead of cut.
A barber supply guide puts it plainly: each tooth must be honed without changing its shape or the spacing between teeth. The straight blade also needs its own sharpening. That makes thinning shears a two-part job. For example, one mail-in service lists its process as taking the shears apart, inspecting each part, sharpening each tooth, restoring the factory edge, and test cutting before return.
Spacing and tooth shape also decide how much hair each close removes. So uneven grinding does not just dull the edge; it can change how the shears thin. That is why professionals treat this blade with more care than a straight one.
Convex vs Bevel Edges: Why It Matters When You Sharpen Thinning Shears
Listings and tutorials often treat all shear edges as the same. They are not, and the difference decides who should sharpen your pair. Most better hair shears use one of two edge shapes on the straight blade.
| Feature | Convex edge | Bevel edge |
|---|---|---|
| Edge shape | A continuous, curved bevel that runs into a very fine edge | A flat, angled facet along the edge |
| How it cuts | Smooth slicing with reduced resistance | A sturdy, practical cutting edge |
| Durability | Fine edge needs careful handling | More durable; one barber guide calls bevel shears workhorses |
| Ease of sharpening | Harder; the curve must be copied by a skilled sharpener | Easier to sharpen, though still precise work |
| Risk of DIY sharpening | High: the curve can be flattened | Moderate: the angle can drift or the edge can turn uneven |
On convex blades, Battle Born Blade Sharpening warns that incorrect sharpening can flatten the edge. It adds that a damaged convex shear may feel sharp at first and then lose performance quickly. Shear brand Sam Villa also says its convex blades are harder to re-sharpen and that poorly trained services can damage them.
Bevel edges are more forgiving. However, “easier” still means easier for a trained sharpener with the right setup, not for a kitchen stone. And if your thinning shears have a convex straight blade, they need the same specialist care as a convex cutting shear.
Home Methods vs a Specialist: An Honest Comparison
Search for ways to sharpen thinning shears and you will find foil, sandpaper, whetstones and pull-through sharpeners. Most of these come from advice for household scissors. They were not designed for a toothed blade, and some guides admit you should touch only the straight blade.
| Method | What it does | Risk on thinning shears | Verdict |
|---|---|---|---|
| Cutting folded foil | A popular tip for household scissors | Not designed for hair shears; does nothing for the teeth | Not worth it on hair shears |
| Whetstone on the straight blade | Can hone a flat bevel if the angle is held exactly | Angle drift, uneven edge, too much metal removed | Only for simple bevel pairs and a steady, experienced hand |
| Pull-through or kitchen sharpener | Grinds a fixed angle quickly | Wrong angle for hair shears; cannot reach teeth | Avoid |
| Home sharpening kits | Guided stones or rods | Can change the angle or remove too much metal | Avoid on good shears |
| Specialist shear sharpener | Restores both blades, aligns them and test cuts | Low, if the sharpener knows convex and thinning shears | The right choice for any pair worth keeping |
The main risk with home kits, as one barber supply guide notes, is that they can easily alter the blade’s angle, leave uneven edges or remove too much metal. Every pass you make takes metal away for good. A specialist removes as little as possible, so the shears can be serviced many times.
What to Do Instead of Trying to Sharpen Thinning Shears Yourself
- Clean, dry and oil the shears after use
- Check tension before deciding they are dull
- Ask a sharpener whether they service convex and toothed blades
- Keep the shears closed and cased when stored
- Use them only on clean, dry hair
- Run a file, stone or rod across the teeth
- Use a kitchen or pull-through sharpener
- Soak them or clean them with bleach
- Cut paper, tape or wig fibers with them
- Keep cutting with a bent or chipped tooth
Myths About Sharpening Thinning Shears
Several popular ideas make home sharpening sound safer than it is. Here are the common ones, and what the evidence actually supports.
- Myth: foil sharpens any scissors. Cutting foil is advice for household scissors. On hair shears, nothing shows it rebuilds a proper edge, and it does nothing for the teeth.
- Myth: you only ever need to sharpen the straight blade. Some home guides say this, yet professional services describe sharpening the teeth too. Sharpening one blade alone can leave the pair out of balance.
- Myth: more expensive means it never needs service. Even premium makers expect sharpening. KAI, the maker of Kasho scissors, says proper maintenance such as sharpening can keep its scissors in use for up to 30 years.
- Myth: any knife shop can do it. Shear brands warn that poorly trained services can damage blades. Ask specifically about thinning shears and convex edges.
- Myth: thinning shears last forever because they cut less hair. A UK scissor service notes they can dull faster, because they often work through larger or thicker sections.
How to Keep Thinning Shears Sharp Between Services
Good care is the part you can safely do at home, and it matters more than any sharpening trick. The routine below draws on care advice from Yamamoto Scissors and Joewell.
- Wipe after every use. Remove hair and product from both blades and between the teeth with a soft, dry cloth or chamois.
- Clean residue weekly. Yamamoto suggests wiping the blades with isopropyl alcohol on a paper towel at least once a week. Joewell adds that ethanol works but warns against low-strength products or those with moisturizers.
- Dry them completely. Moisture left on the steel can cause rust. Joewell advises against soaking, boiling water, steam and chlorine bleach.
- Oil the pivot. Open the shears fully and place a drop of oil at the pivot area. Open and close a few times, then wipe off the excess.
- Set the tension. Adjust it so the blades meet with no side movement and still open without strain. Correct tension also reduces how often you need sharpening.
- Store them closed and protected. Keep them in a case or pouch, away from damp bathrooms. For long storage, Joewell suggests oiling the blade surface too, then wiping it off before use.
Shear maker Jaguar Solingen makes the same point: daily cleaning and oiling, plus safe storage, extend both the lifespan and cutting performance of scissors. In short, care slows dulling down; it does not replace sharpening forever.
What a Professional Service Involves (and How Often)
A good shear sharpener does more than grind an edge. Typically, they take the shears apart, inspect each part, sharpen the straight blade and each tooth, then reassemble, set tension and test cut.
How often depends on use. A barber supply guide suggests professionals plan on service every three to six months. Meanwhile, a UK scissor service recommends at least once or twice a year for salon thinning shears. At home, where shears cut far less hair, a good pair may go much longer. Yamamoto says there is no fixed schedule; sharpen when the shears stop cutting well.
When choosing a sharpener, ask a few direct questions:
- Do you sharpen thinning and texturizing shears, including the teeth?
- Can you keep a convex edge convex?
- Do you test cut on hair or a hair-like material before returning them?
- Is your service approved by the brand? Some brands, including Sam Villa, say that unapproved sharpening can void a warranty.
Sharpen or Replace? Matching the Decision to Your Pair
Whether to sharpen thinning shears or buy new ones depends mostly on what they are made of and how they were made. Here is a simple way to decide.
- Brand-name salon shears with a warranty: send them to the brand’s approved service. These are built to be resharpened many times.
- Good-quality shears with no brand service: use a local specialist who handles thinning shears and asks about the edge type.
- Budget home shears: compare the service fee with a new pair. Often a fresh budget pair is the simpler choice, and it avoids the risk of DIY work.
- Bent, cracked or heavily rusted shears: ask a specialist whether repair is possible. If not, replace them.
Either way, the cost of time matters too. A mail-in service can leave you without shears for a while. So many home users keep a backup pair, while stylists often rotate two.
Honest Limits
There is no lab standard for when thinning shears are “dull”, so the signs above are practical cues rather than measurements. Also, sharpening services differ widely in skill, and online reviews rarely tell you how a service handles thinning shears specifically.
The guidance in this article leans on manufacturer and sharpening-service sources. These businesses sell care products or services, so they have a reason to favor professional sharpening. Still, their technical points about tooth geometry and edge shape are consistent with each other.
Finally, a skilled hobbyist with the right jig and experience might hone a simple bevel edge well. That is not most people, though, and nothing here can make freehand work on the teeth safe.
When to See a Professional
Book a specialist sharpener, or contact the brand, when any of these apply:
- The shears still fold or pull hair after cleaning, oiling and a tension check
- A tooth is bent, chipped, shorter than its neighbors or out of line
- The shears were dropped and now feel rough, gritty or catch when closing
- Rust has formed on the edges or between the teeth
- Someone already tried to sharpen them at home and the cut got worse
- The shears have a convex edge or a brand warranty you want to keep
- How to choose and use thinning shears: cut rate, types and technique.
- Texturizing shears explained: wider teeth for movement and texture.
- Picking hairdressing scissors: the main cutting pair to pair with your thinners.
- Shears that pull or fold hair: the three causes and the fix for each.
- Oiling hair shears: how often and exactly where the oil goes.
Sharpen Thinning Shears: Frequently Asked Questions
Can you sharpen thinning shears at home?
Not safely for most people. The teeth need specialist honing, and home tools can change the edge angle or remove too much metal. At home, focus on cleaning, oiling and tension.
How do I know my thinning shears need sharpening?
They fold, push or pull hair instead of cutting it, even after cleaning, oiling and a tension check. New split ends after a trim are another sign.
Can I use a knife sharpener on thinning shears?
No. Kitchen and pull-through sharpeners grind the wrong angle for hair shears and cannot reach the teeth.
Does the aluminum foil trick work on hair shears?
It is advice for household scissors. It is not a substitute for proper sharpening on hair shears, and it does nothing for the teeth.
Do professionals sharpen the teeth on thinning shears?
Many do. Specialist services describe sharpening the straight blade and honing each tooth without changing its shape or spacing.
How often should a sharpener service thinning shears?
For salon use, guides suggest every few months up to twice a year. Home pairs cut less hair and usually last much longer between services.
Why are convex shears harder to sharpen?
The edge is a continuous curve that must be copied exactly. Flattening it can make the shears feel sharp at first and then dull quickly.
What oil should I use on my shears?
Use a light scissor or shear oil, or camellia oil, which is traditional for Japanese blades. Put a drop at the pivot and wipe off the excess.
Is it worth paying to sharpen thinning shears that were inexpensive?
Often not. Compare the service fee with a new pair; for many budget shears, replacing them is the simpler option.
Can a sharpener fix a bent tooth?
Sometimes. A specialist can assess whether it can be straightened or reshaped. Stop using the shears until then, as a bent tooth can snag hair.
The Bottom Line
Thinning shears are not a home sharpening project. The toothed blade needs each tooth honed without changing its shape, and convex edges need a sharpener who can keep the curve. Stones, foil and kitchen gadgets put both at risk.
So do the part that is yours: wipe, dry, oil, set the tension and store the pair safely. Then send a good pair to a specialist when it starts to fold hair, and simply replace a budget pair when servicing does not make sense.




One Comment