
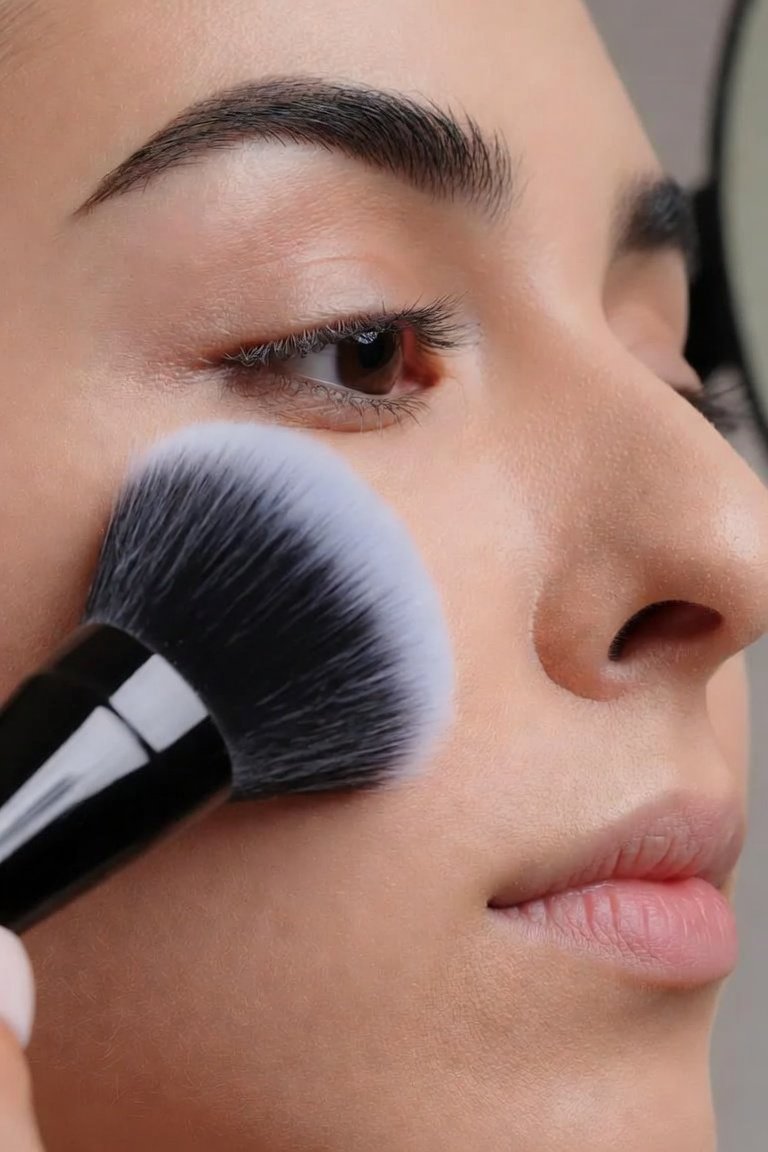
Setting Powder Brush Guide: How to Lock In Concealer Without Creasing
Why does concealer crease an hour after you powder it? Often the problem is not the powder at all but the tool. A setting powder brush is built to place a small amount of powder exactly where makeup moves, instead of dusting the whole face.
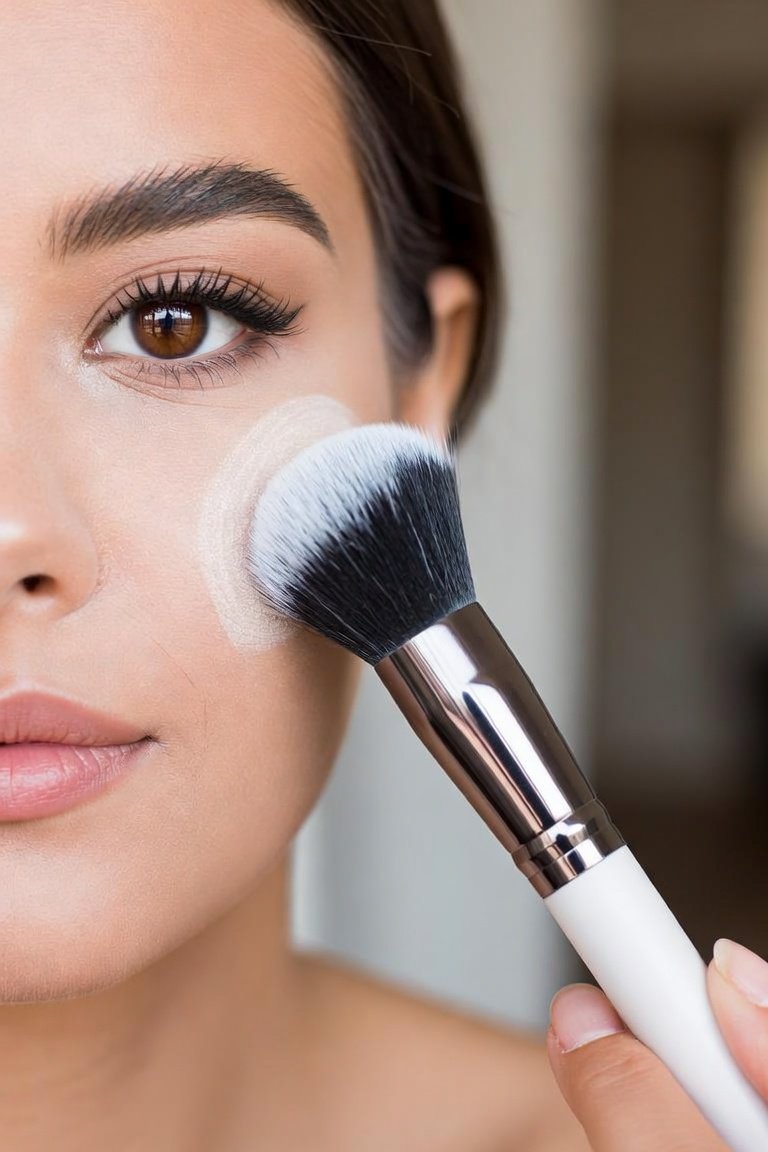
Quick answer: a setting powder brush is a small to medium, soft, often tapered brush used to press or sweep a thin layer of powder over concealer and foundation so they stay put. Use it on the areas that crease or get shiny first: under the eyes, around the nose, the chin and the forehead. Tap off the excess, press gently, and sweep away any leftover powder.
Clean tools matter here because these brushes work close to the eyes. Cleveland Clinic suggests washing brushes used near the eyes about every two weeks. For acne-prone skin, the American Academy of Dermatology goes further and advises weekly cleaning and a feather-light touch.
Setting is also not the same as all-over powdering or baking. Each uses a different amount of product and a different brush, and mixing them up is a common cause of dry, heavy makeup. The fix is usually simple: a smaller brush, less powder and a pressing motion where the base tends to move.
Below you will find a clear comparison with regular face brushes, three setting methods, a step-by-step routine, a short quiz and cleaning advice.
Recommended Setting Powder Brushes
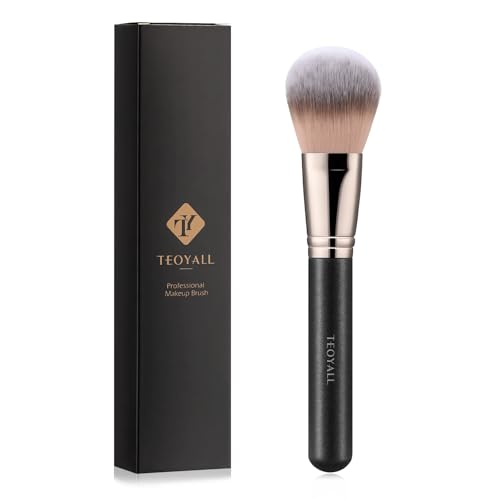
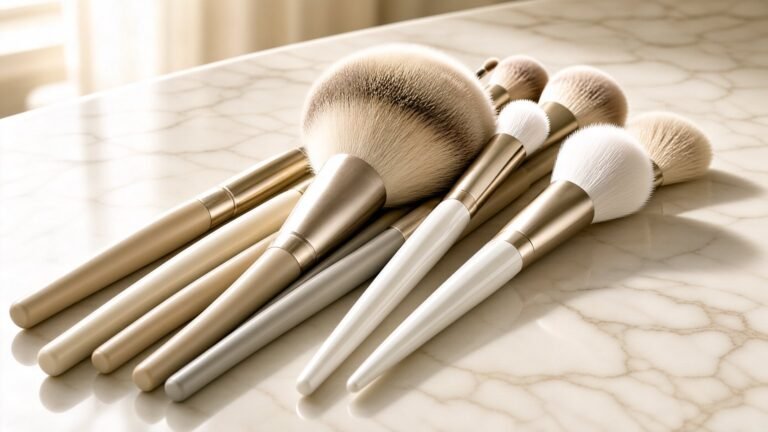
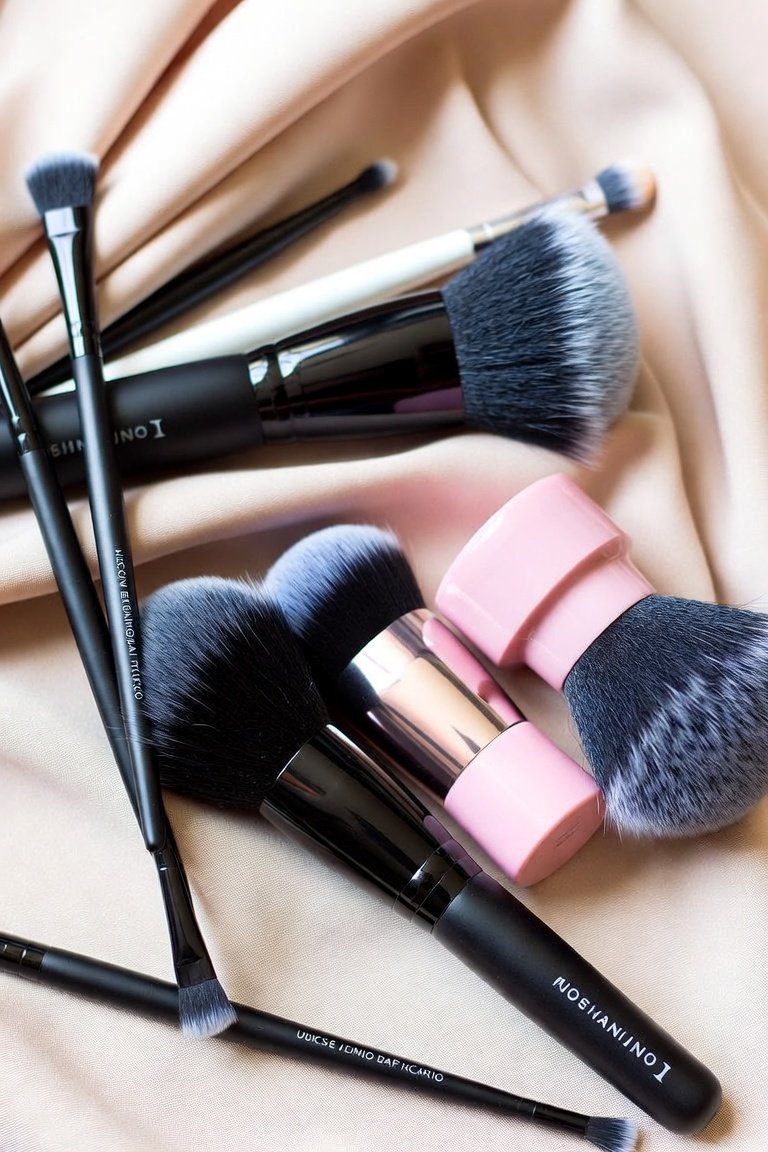
These picks are brushes sold for setting powder: fluffy all-over setting brushes, small tapered brushes for under the eyes, and a pointed brush for precise placement. Use the quiz further down to decide which shape you need first. See how we test and choose products for the rules behind every pick.



Key Takeaways
- A setting brush targets the areas where makeup moves first; an all-over powder brush covers the whole face.
- Smaller, tapered heads place powder precisely under the eyes and around the nose.
- Pressing locks in fresh concealer; sweeping finishes areas that have already set.
- Baking uses a thick layer of loose powder, usually with a sponge or puff, and a brush to dust off the rest.
- Less powder under the eyes usually means less creasing, not more.
- Wash brushes used near the eyes often; the AAD advises weekly cleaning for acne-prone skin.
- Test your finish with a phone flash if you will be photographed, since some powders can look white in flash.

What a Setting Powder Brush Does Differently
Liquid and cream makeup stay slightly wet for a while. Skin oil, facial movement and warmth keep them mobile. So concealer slides into the fold under the eye, and foundation wears away around the nose.
Setting powder absorbs some of that moisture and oil. As a result, the layer underneath grips the skin instead of drifting. The brush decides how much powder lands and where it goes.
A setting powder brush is usually smaller than an all-over powder brush, and its head is often tapered or rounded to a soft point. That shape lets you reach the inner corner of the eye, the sides of the nose and the chin crease. Meanwhile, the rest of the face gets little or no extra powder.
Many brands also sell large, fluffy brushes labeled “setting brush”. These are meant for a sheer, all-over set. In practice, most people use two: a large one for a light veil and a small one for the zones that need more help.
Setting Powder Brush vs Regular Powder Brush
These two tools look similar and are often sold as the same thing. They do overlap, yet the job each is best at is different.
| Feature | Setting brush (small or tapered) | All-over powder brush |
|---|---|---|
| Head size | Small to medium | Large |
| Shape | Tapered, pointed or small dome | Wide dome or round |
| Main job | Locking in concealer and base in specific zones | A sheer veil of powder over the whole face |
| Typical areas | Under the eyes, sides of the nose, chin, smile lines | Forehead, cheeks, jaw |
| Best technique | Press and roll, then a light sweep | Light, outward sweeps |
| Risk if misused | Too much product in one small area | Powder spreads into areas that did not need it |
If you want a single brush for the whole face, our guide to large face brushes for loose and pressed powder covers shapes and density in detail. For buffing liquid base before you set it, see our buffing brush guide.
Pressing, Sweeping and Baking: Three Ways to Set
How you apply the powder matters as much as which brush you hold. These three methods use different amounts of product, and each suits a different goal.
| Method | How much powder | Tool | Best for |
|---|---|---|---|
| Pressing | Small | Small setting brush or puff | Locking fresh concealer under the eyes without moving it |
| Sweeping | Very small | Fluffy setting brush | A light, natural set on skin that is not very oily |
| Baking | Large, left on for a few minutes | Damp sponge or puff to apply; brush to dust off | Long events, heavy coverage and very oily skin |
Baking gets a lot of attention online. However, it adds a lot of powder to thin skin. On dry or mature skin it can look heavy, so try pressing first and bake only for long days.
The type of powder changes the method too. Loose setting powder is finer and lighter, so it suits pressing and baking. Pressed powder holds together in the pan, which makes it tidy for quick sweeps and touch-ups during the day. Translucent powders add little or no color, while tinted ones add a touch of coverage. If you are unsure, start with a translucent loose powder and a small brush, because both are easy to control.
How to Use a Setting Powder Brush Step by Step
This routine keeps the powder light and targeted. It works with loose or pressed setting powder.
- Blend concealer and base first. Make sure edges are smooth, because powder locks in whatever is there, including streaks.
- Smooth out any creases. Look up and gently pat the under-eye area with a fingertip to flatten any product that has already folded.
- Load a small amount. Dip the tip of the brush into a little loose powder or swirl once in a pressed pan.
- Tap off the excess. Tap the handle firmly so only a fine dusting stays on the tip.
- Press into the zones that move. Press and roll the tip under the eyes, beside the nose and at the chin. Do not drag the brush.
- Wait briefly, then sweep. Give the powder a moment to settle. Then use a clean, fluffy brush to sweep away anything that did not absorb.
- Check in natural light. Look for dry patches or white residue and soften them with a clean brush or a light mist of setting spray.
Where to Set: A Zone-by-Zone Map
Not every part of the face needs the same amount of powder. Focus on the areas where makeup moves most, and leave the rest alone or give it only a light veil.
- Under the eyes: the thinnest skin and the most movement. Use very little powder and press it in with a small brush.
- Sides of the nose: oil builds here quickly. Press powder into the crease with the tip of a tapered brush.
- Chin and the fold below the lip: foundation often separates here. A small press is usually enough.
- Forehead and T-zone: the shiniest area on many faces. Use a larger fluffy brush for a light layer.
- Smile lines: smile first to see where the lines fall, then press a small amount on each side.
- Cheeks: usually need the least. Skip them or sweep lightly, especially if you use cream blush.
This targeted approach is the main reason to own a setting brush at all. Instead of adding the same layer everywhere, you give each zone only what it needs. As a result, the face keeps some natural glow on the cheeks while the eyes and nose stay crisp for longer. It also means you use less product overall, so the finish looks more like skin and less like powder.
Find Your Setting Powder Brush in Five Questions
Answer each question with the option that fits you best. Then read the result that matches most of your answers.
- Where does your makeup move first? Under the eyes (A), the T-zone (B), or everywhere evenly (C)?
- How long do you wear makeup? A few hours (C), a full workday (A or B), or a long event (B)?
- What powder do you use? Loose (A or B) or pressed (C)?
- How dry is your under-eye skin? Dry or lined (A), normal (B), or oily (B)?
- Do you already own a large face brush? Yes (A) or no (C)?
Mostly A: a small, tapered under-eye setting brush. Press a tiny amount and skip baking.
Mostly B: a small tapered brush for the eyes plus a fluffy setting brush for the T-zone. Baking may suit long events.
Mostly C: one medium, fluffy setting brush for a light all-over set, with the tip used for detail.
Whatever your result, start with less product than you think you need. You can always press in a second thin layer.
Mistakes That Cause Creasing and Flashback
Most setting problems come from too much powder, the wrong timing or a brush that is too big. Here is a quick way to sort good habits from bad ones.
- Flatten creases before you powder
- Tap the brush before every press
- Press on fresh concealer
- Sweep away leftover powder
- Test with a phone flash before events
- Keep a separate brush for the eyes
- Pile powder on dry, lined under-eyes
- Drag a brush over wet concealer
- Use a large brush in the inner corners
- Bake every day out of habit
- Set skin that is still greasy from moisturizer
- Share a brush that touches the eye area
Setting Makeup on Acne-Prone or Sensitive Skin
Powder can help oily, acne-prone skin look less shiny. Still, the tool and the product both matter when skin breaks out easily.
The American Academy of Dermatology suggests choosing makeup labeled oil-free, non-comedogenic or “won’t clog pores”. It also advises cleaning makeup brushes every week, using them only on yourself, and applying makeup with a feather-light touch.
That light touch suits a setting brush well. Pressing gently with a soft tip causes less friction than rubbing, and a small head keeps powder away from areas that do not need it. Also, remove makeup fully before bed with a gentle cleanser.
- Choose soft synthetic fibers, which are easy to wash and dry.
- Avoid pressing hard over active breakouts; a light tap is enough.
- Use a fresh or freshly washed brush if a breakout is inflamed.
Cleaning a Setting Powder Brush and When to Replace It
Advice on frequency varies. The Cleveland Clinic suggests about every two weeks for brushes used around the eyes and about monthly for dry-product face brushes. By contrast, the AAD recommends weekly cleaning for people with acne-prone skin. So if your setting brush works under the eyes or you break out easily, lean toward the more frequent schedule.
To wash it, rinse the tip in lukewarm water, work in a little mild shampoo or soap, and rinse until the water runs clear. Next, squeeze out the water gently and lay the brush flat with the head over the edge of the counter. Drying it upright lets water run into the base and can loosen the glue.
Replace the brush when the fibers fray, lose their shape or keep shedding. A setting brush with a splayed tip can no longer place powder precisely, which defeats its purpose.
Honest Limits
A brush cannot stop concealer from creasing if the formula is too heavy or too much was applied. In that case, use less concealer or a lighter one first.
Powder also cannot fix very dry under-eyes. On dry or lined skin, even a light press may look textured by the afternoon. For some people, skipping powder under the eyes entirely gives the smoothest result.
Finally, online ratings reflect how buyers feel about softness and value. They do not tell you how a brush will perform with your skin, your powder and your technique.
When to See a Professional
Most setting problems are easy to fix at home. Even so, a professional can help in some cases:
- You have a wedding, photoshoot or long event and want makeup tested for flash and long wear.
- You keep getting creasing or flashback despite changing products and technique.
- Your eyes water, itch or turn red after you set makeup, even with a clean brush.
- Breakouts get worse when you wear powder or other makeup.
A makeup artist can suggest formulas and methods for your skin. For eye irritation or persistent breakouts, see a doctor or dermatologist.
- Round kabuki brushes: domed brushes for powder, bronzer and mineral makeup.
- Stippling brushes: a two-layer brush for a light, airbrushed finish.
- Foundation brushes: flat, kabuki and buffing shapes for liquid foundation.
- Beauty sponge damp or dry: when each gives a better finish.
- Foundation brush for concealer: when it works and when it drags.
Frequently Asked Questions
What is a setting powder brush?
It is a soft, often small or tapered brush used to press or sweep powder onto areas where makeup moves, so concealer and foundation last longer.
Is a setting powder brush the same as a powder brush?
They overlap. A setting brush is usually smaller and targets specific zones, while a powder brush covers the whole face.
Can I use a setting powder brush for baking?
Baking is usually applied with a damp sponge or puff. A fluffy brush is then used to dust away the extra powder.
Should I press or sweep setting powder?
Press over fresh concealer so it does not move. Sweep lightly on areas that are already set.
Why does my concealer still crease after setting?
Usually too much concealer, a crease that was not smoothed first, or too much powder. Use less of each and press gently.
Which setting powder brush is best for under the eyes?
A small, soft, tapered brush. It fits the inner corner and places a small amount of powder precisely.
Can I use pressed powder to set makeup?
Yes. Pressed powder works well for light setting and touch-ups. Loose powder is more common for heavier setting or baking.
How often should I wash a setting powder brush?
Every one to two weeks if you use it near the eyes or have acne-prone skin, and at least monthly otherwise.
What causes white cast in photos?
Some powders can reflect flash light and look white in photos. Use a thin layer, sweep off extra and test with a phone flash.
Do I need a separate brush for setting?
Not always. One medium fluffy brush can do both, but a small tapered brush makes under-eye setting much easier.
The Bottom Line
A setting powder brush earns its place by putting a little powder only where makeup moves. Choose a small tapered head for the eyes and nose, add a fluffy brush for the T-zone if you need it, and keep baking for long days.
Then keep the method simple: smooth creases, tap off extra powder, press before you sweep and check the result in natural light. Wash the brush often, especially if it works near your eyes or your skin breaks out easily.

8 Comments