
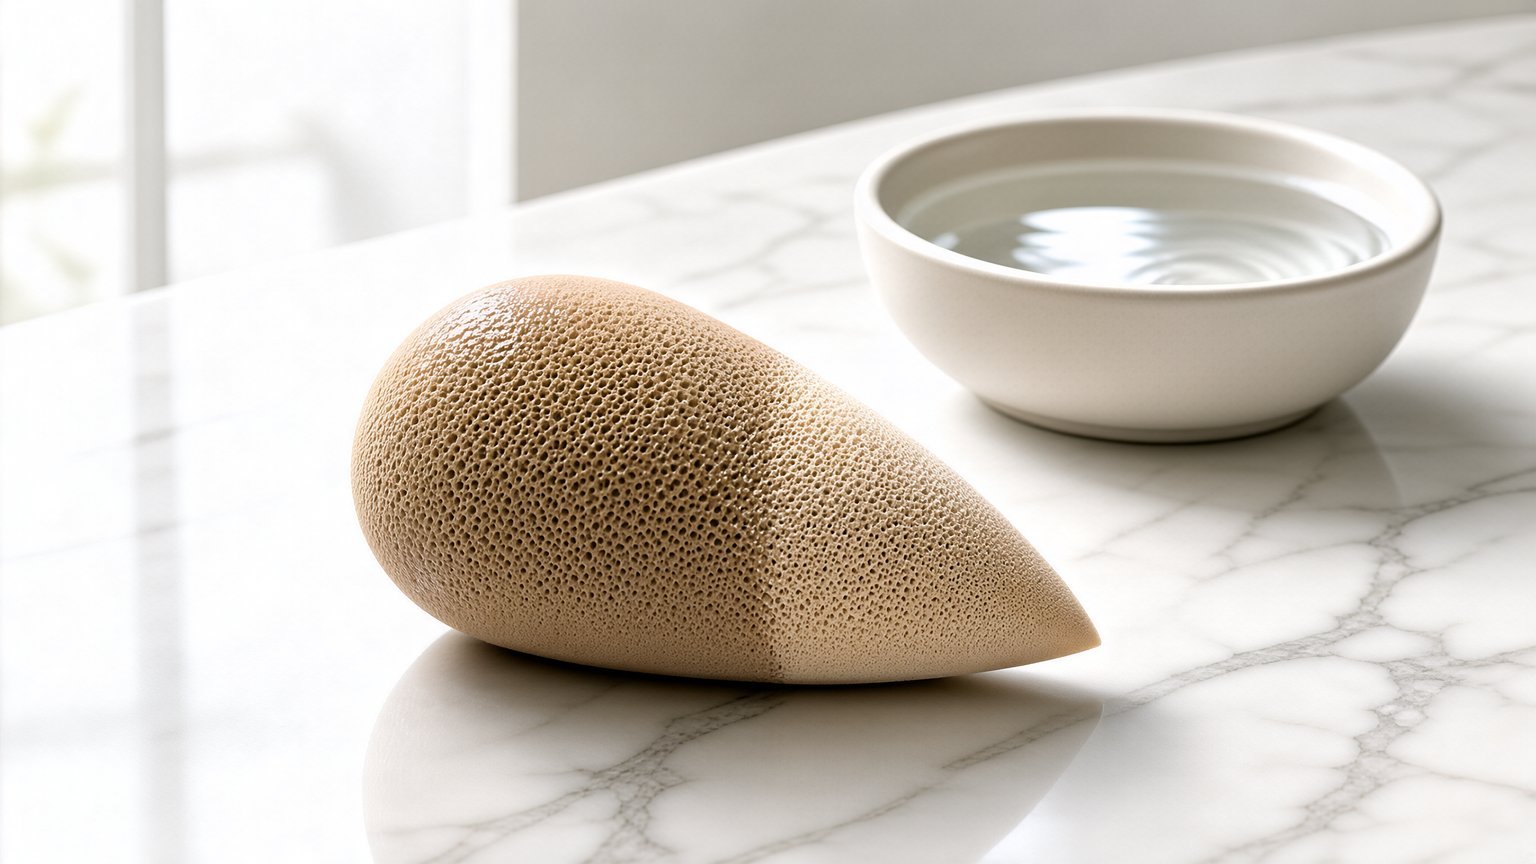
Beauty Sponge Damp or Dry: How to Use It for Each Product
A dry sponge drinks foundation like blotting paper, while a dripping one turns it into streaks. So should you use a beauty sponge damp or dry? For most liquid and cream products, damp wins, but a dry sponge still has a few jobs of its own.
Quick answer: use the sponge damp for liquid foundation, concealer and cream color. Wet it until it expands, then squeeze out the excess water until it feels only slightly cool. The expanded sponge soaks up less product, so more stays on your skin and the finish looks smoother. Use it dry when you want to press in powder or build heavier coverage in small areas, and expect it to absorb more formula.
Brand guidance agrees on the damp method. Beautyblender, for example, tells users to wet the sponge until it is fully expanded, squeeze out the excess, and then bounce it on the skin. However, that advice leaves out how much water counts as damp, and it says little about what a dry sponge does well.
Hygiene matters too. A study from Aston University found that used blending sponges carried more bacteria and fungi than the other cosmetics tested, so how you wash and dry the sponge is part of the answer.
This guide gives you a 30-second squeeze test, a product-by-product table, a clear difference between wet, damp and dry, and a care routine that keeps your sponge in good shape.
Recommended Beauty Sponges for Using Damp or Dry
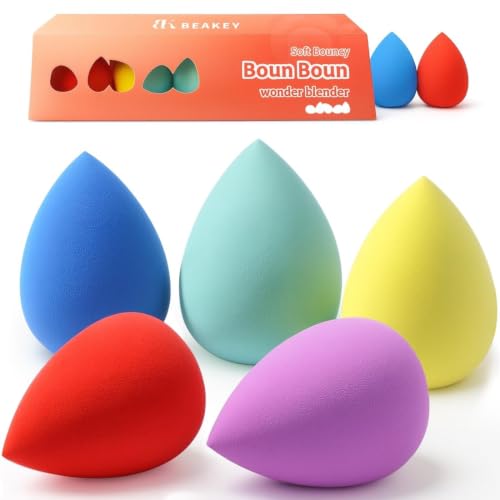
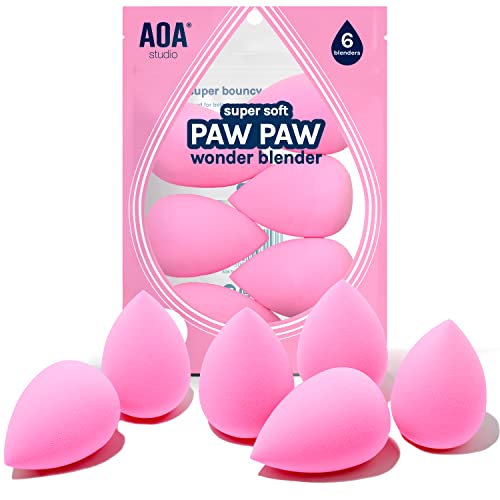
Every pick here is a makeup or beauty sponge, from the classic teardrop shape to multi-packs that let you rotate sponges and let each one dry fully. Check the listing for the material and shape, since they affect how much water the sponge holds. See how we test and choose products for the rules behind every pick.



Key Takeaways
- For liquid and cream products, use the sponge damp: it expands when wet and then absorbs less product.
- Damp means wet through, then squeezed until it only feels cool; dripping wet leaves streaks and dilutes the formula.
- A dry sponge soaks up more product, so it suits pressing in powder or small, heavy-coverage touch-ups better than a base.
- Bounce, press and roll rather than wipe, because wiping drags the product and lifts what is underneath.
- Used sponges can carry bacteria and fungi, so wash after use and let the sponge dry fully in the open air.
- Replace the sponge on a schedule; Beautyblender suggests about every 3 months, depending on use and care.
- A sponge cannot fix a wrong shade, skin that needs prep, or a product that was never meant to be blended.
What Water Does to a Beauty Sponge Damp or Dry
A makeup sponge is a foam full of tiny air pockets. When it is dry, those pockets act like a sponge in the kitchen sense: they pull liquid in. Foundation soaks into the foam, and you end up using more product while a good share stays inside the sponge.
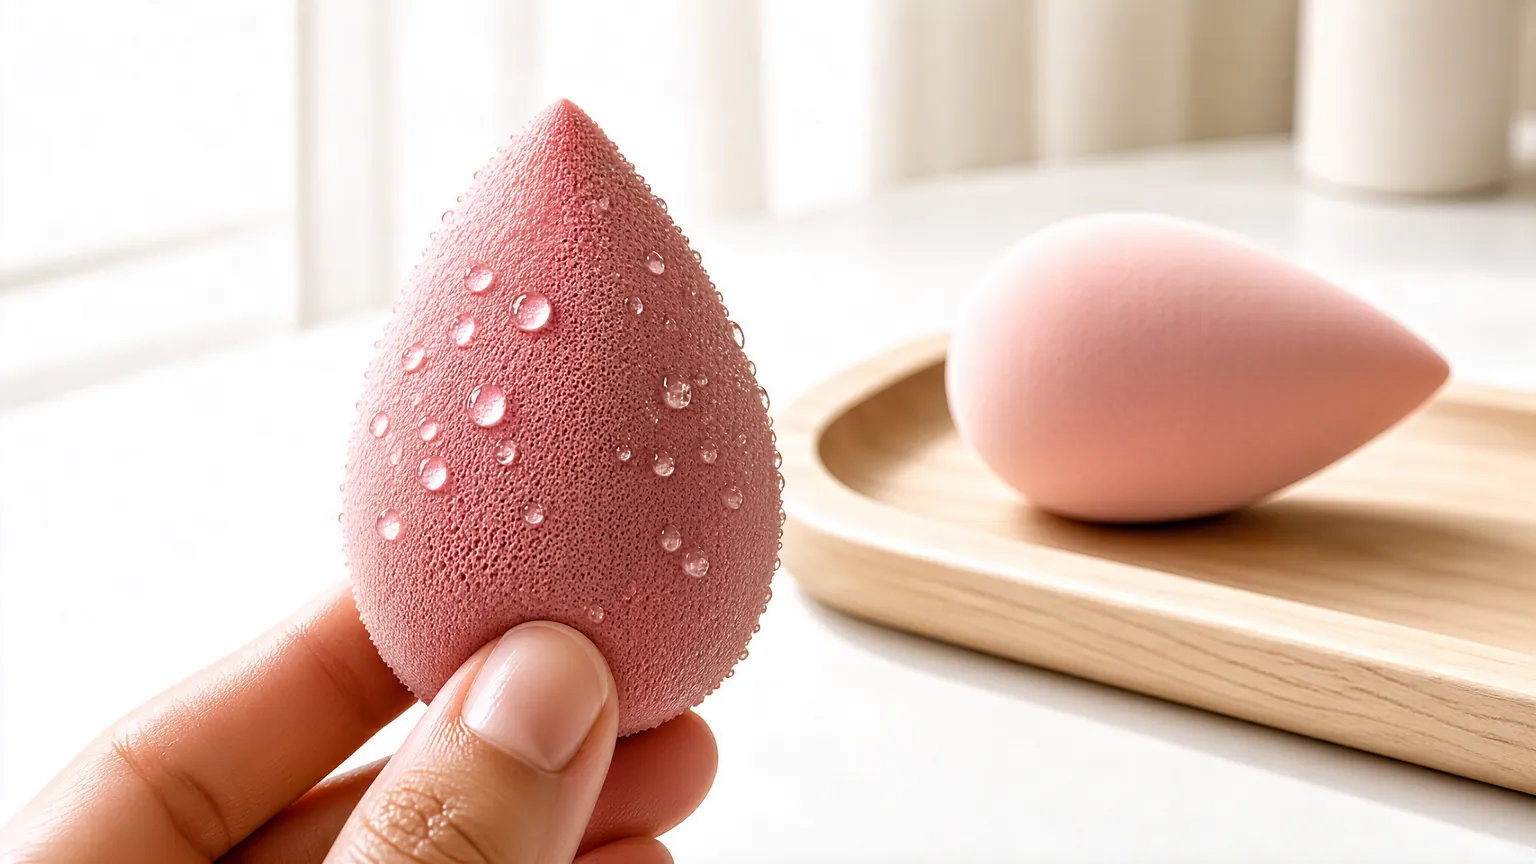
Water changes that. Beautyblender describes its material as aqua-activated: it expands when wet, and the softer, filled surface blends without soaking up much product. The pockets are already full of water, so the foundation has nowhere to go but onto your face.
Not every sponge is the same material, so the effect varies. Some foams expand a lot, others only a little, and latex-free versions can behave differently. The test below works for any of them, because it relies on how the sponge feels, not on its brand.
Beauty Sponge Damp or Dry: Match It to the Product
The product decides the method. Use this table as your starting point, then adjust to your skin and your finish.
| Product | Damp | Dry | Best choice |
|---|---|---|---|
| Liquid foundation | Smooth, sheer to medium finish | Soaks up product, can look heavy | Damp |
| Cream foundation or concealer | Blends edges softly | Presses in strong coverage in small spots | Damp for blending, dry for spot coverage |
| Cream blush or bronzer | Diffuses into skin | Can grab and leave patches | Damp |
| Pressed or loose powder | Turns powder pasty | Presses powder into place | Dry |
| Setting under the eyes | Streaks and clumps | Presses a thin layer | Dry |
| Tinted moisturizer or skin tint | Light, even layer | Absorbs most of it | Damp |
Powder is the one clear exception. Wet foam and powder make a paste, so the sponge needs to be dry for dry products. When in doubt, ask whether the formula is wet or dry, then match the sponge.
You do not have to press powder with a sponge at all. A setting powder brush sets the face with a lighter touch, and a stippling brush gives a similar dabbing motion for liquids if you prefer bristles to foam. Sponges are popular because they press product into the skin, not because they are the only option.
The 30-Second Squeeze Test
This simple check tells you whether your sponge is damp enough, too wet or too dry. Run it each time, because a sponge changes as it dries during a session.
- Press it on your wrist. If water beads or runs, it is too wet (A).
- Press it on a tissue. If it leaves a clear wet mark, squeeze again (A). If it leaves only a faint mark, it is right (B).
- Feel the size. It should be fully expanded and soft, not shrunken and stiff (B). If it is stiff, it is too dry (C).
- Do a test dab. A little foundation on your jawline should move easily without sliding (B). If it streaks, it is too wet (A). If it grabs, it is too dry (C).
Mostly A: too wet. Squeeze it in a clean towel until it feels only cool.
Mostly B: damp, and ready to go.
Mostly C: too dry. Re-wet, expand it fully, and squeeze out the excess again.
Many people pause here because a sponge looks fine until it touches the product. The wrist test removes the guesswork, since it shows what the skin will feel and see.
How to Use a Beauty Sponge Damp or Dry: The Damp Routine
This routine follows the brand method and adds the squeeze details that make the difference. It takes about a minute, and it works for foundation, concealer and cream color.
- Run the sponge under clean water. Squeeze it a few times until it is fully expanded and soaked through.
- Squeeze out the excess. Press it in a clean towel, or squeeze with your palm, until no water drips and the surface feels just cool.
- Dot product on your face first. Place small amounts on the cheeks, forehead, nose and chin, so you are not loading the sponge directly.
- Bounce, do not wipe. Tap the sponge across the skin in short presses, starting at the center of the face and moving outward.
- Use the narrow tip for detail. Press around the nose, under the eyes and along the hairline with the pointed end.
- Layer thin amounts. If you need more coverage, add another thin layer to the spot instead of pressing harder.
- Rinse and squeeze it out afterward. Wash the sponge soon after use, and set it somewhere airy to dry.
Wet, Damp and Dry Are Three Different Things
Many guides use “wet” and “damp” as if they mean the same thing. They do not, and the difference explains most streaky results.
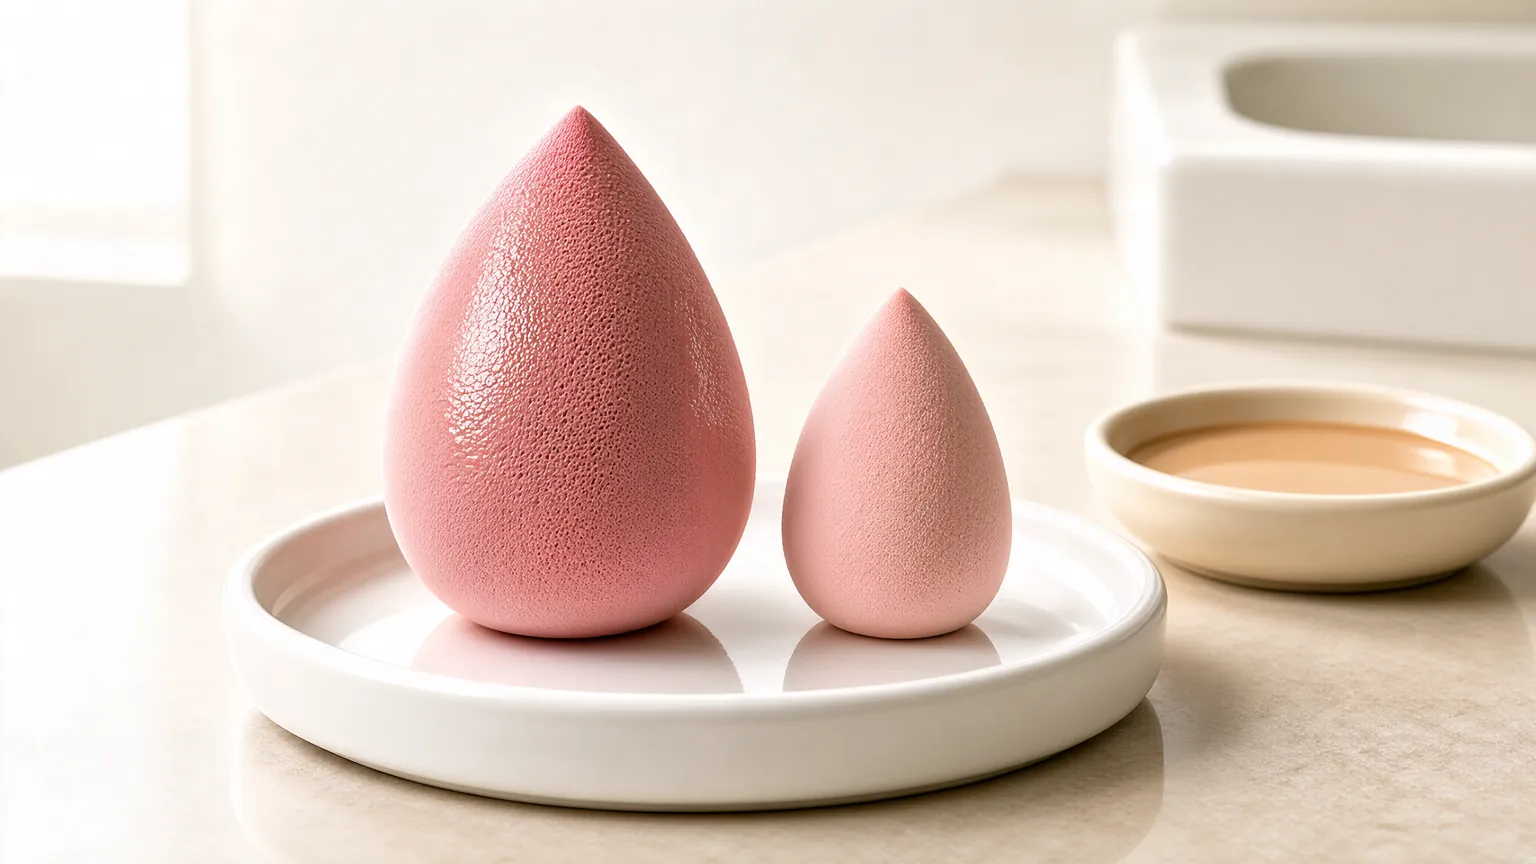
| State | How it feels | What happens to makeup |
|---|---|---|
| Wet (dripping) | Water runs when squeezed lightly | The formula thins, slides and leaves streaks |
| Damp (squeezed) | Expanded, soft and only cool to the touch | Product sits on the surface and blends smoothly |
| Dry | Small, firm and light | The foam absorbs product and can drag on skin |
Think of damp as “wet, then squeezed”. It is the step most people skip, and it is the one that stops the sponge from watering down your base.
Bounce, Press or Swipe
Technique changes the result as much as moisture does. Three motions cover almost everything.
- Bounce: short taps for foundation and concealer. It deposits product and presses it into skin without moving what is underneath.
- Press and hold: for areas that need more coverage, such as redness around the nose. Hold for a second before lifting.
- Roll: for cream blush and bronzer, a gentle roll of the rounded edge diffuses color without leaving a line.
Amount matters as well. A common mistake is to load the sponge itself, which hides how much product you have used. Dotting a little on the face and then blending lets you see the coverage build, and it stops the sponge from becoming saturated with foundation. Work one area at a time, and stop as soon as the skin looks even.
Swiping is the motion to avoid. It drags the sponge across skin, shifts the layer beneath and tends to leave streaks. If you like a brush for sweeping, our foundation brush guide explains how a brush handles the same job.
Fixing Streaks When a Beauty Sponge Is Damp or Dry
Most problems trace back to moisture, loading or motion. This list shows the quick fix for each.
- Squeeze the sponge until it only feels cool
- Dot product on the face before sponging
- Bounce in short presses
- Rinse out the sponge when it looks stained
- Use a dry sponge for powder only
- Rotate two sponges so each can dry fully
- Use a dripping sponge on liquid foundation
- Load the sponge with a large amount of product
- Rub or wipe across the skin
- Keep using a stiff, crumbling sponge
- Pack a damp sponge into a closed case
- Share a sponge with another person
Washing and Drying: The Hygiene Part
Used sponges stay warm, damp and full of makeup, which is a good environment for microbes. Researchers at Aston University tested 467 donated, in-use cosmetic products, including 79 blending sponges. They found that the sponges had the highest contamination of the products tested, with about 27 percent carrying Enterobacteriaceae and about 57 percent carrying fungi.
The study measured contamination, not infection, and it used donated products that had been in real use. So it does not mean that every sponge will make you ill. It does support the advice the researchers gave: wash sponges regularly and dry them thoroughly.
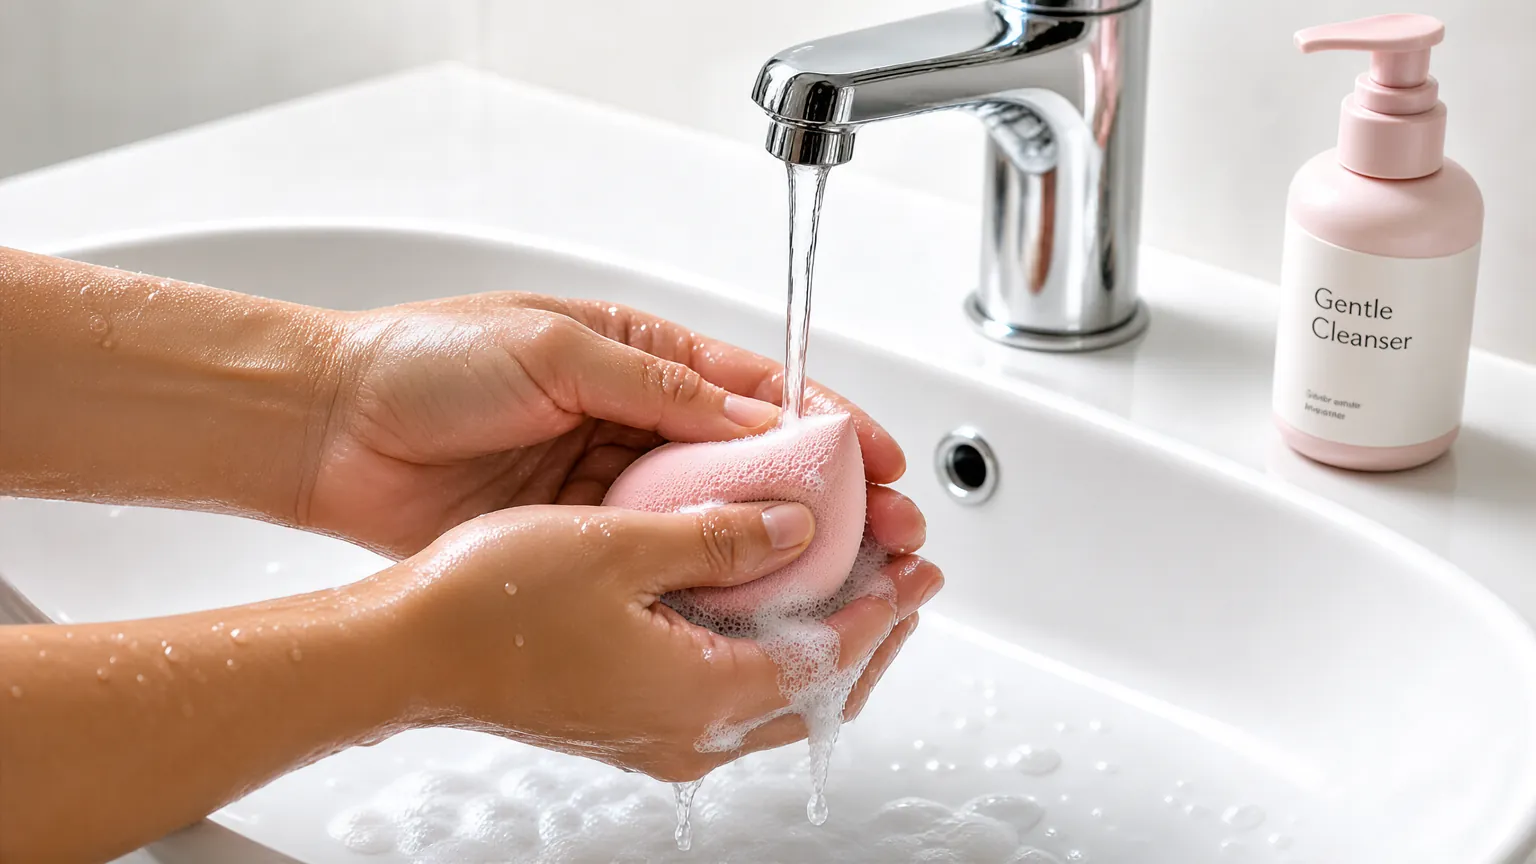
Beautyblender’s own guidance is similar. Lather the sponge with a gentle cleanser and water, rinse well, and let it air dry completely. Never store it damp in a closed space.
- Wet the sponge and squeeze out the first dirty water.
- Work in a small amount of gentle cleanser until the lather runs clear.
- Rinse under running water until no soap or color remains.
- Squeeze it in a clean towel, then leave it in an open, airy spot to dry.
When to Replace a Sponge
Even a well-washed sponge wears out. Beautyblender suggests replacing it about every 3 months, depending on use and care, which is a reasonable rule for most people.
Replace it sooner if you notice any of these signs.
- Cracks, tears or crumbling edges, because they trap product and bacteria.
- Stains that do not wash out, which suggest buildup deep in the foam.
- A sour or musty smell after washing.
- A stiff or hard feel even after wetting and squeezing.
Buying a multi-pack makes this easier, because you can rotate sponges and give each one a full day to dry between uses. Also replace the sponge after an eye infection or a cold sore breakout, so you do not reuse a sponge that touched an infection.
Honest Limits
The advice to use a damp sponge comes largely from brand instructions and makeup-artist practice. Few independent tests compare finish or coverage between damp and dry use, so treat the rule as well-tested habit, not proven fact.
The hygiene research has limits too. The Aston study was about contamination in donated, used products and did not follow anyone’s skin over time. We do not know how often contaminated sponges cause problems, only that they carry microbes.
Finally, sponges differ. Latex-free and different foams behave differently, so brand guidance for one sponge may not fit another. Use the squeeze test, and adjust to your sponge.
When to See a Professional
A sponge is a low-risk tool, but some situations need expert help.
- You develop redness, itching, stinging or a rash after using a sponge or new makeup.
- You have an eye infection, cold sore or active acne flare. Stop using shared or older sponges and ask a doctor or pharmacist what to do.
- Your foundation looks patchy or flaky no matter how you apply it. A dermatologist can check whether dry skin or another condition is the cause.
- You are applying makeup for a special event and want a finish that lasts. A makeup artist can tailor the method to your skin.
- Beauty blender vs foundation brush: which gives the finish you want.
- Cleaning a stained beauty blender: what comes out and what means replace.
- Buffing brush: getting an airbrushed base.
Frequently Asked Questions
Should you use a beauty sponge damp or dry?
Use it damp for liquid and cream products. Use it dry for powder or small spots that need pressed-in coverage.
How wet should a beauty sponge be?
Wet it until it expands, then squeeze out the excess. It should feel cool and soft, but not drip.
Why does a beauty sponge damp or dry change how much foundation it absorbs?
A dry sponge absorbs liquid into its foam. Wetting and squeezing it first fills the foam with water, so less product is absorbed.
Can you use a beauty sponge dry with liquid foundation?
You can, but it will absorb more product and may look heavier or drag. Some people use that to build coverage on small spots.
Is a beauty sponge damp or dry better for powder?
Dry. A wet sponge and powder make a paste, so use a dry sponge to press powder into place.
Why does my makeup look streaky with a sponge?
Usually the sponge is too wet or you are wiping instead of bouncing. Squeeze out more water and press in short taps.
How do you dry a beauty sponge?
Squeeze out the water, then leave it in an open, airy place. Do not store it damp in a closed case.
How often should you wash a beauty sponge?
Beautyblender suggests cleansing it after each use, and the Aston researchers advise washing sponges regularly.
How often should you replace a beauty sponge?
About every 3 months for typical use, according to Beautyblender. Replace it sooner if it cracks, smells or stays stained.
Does a beauty sponge damp or dry method matter for sensitive skin?
The method matters less than cleanliness. A damp, clean sponge is gentle, and a dirty sponge is the bigger risk, so wash and replace it on time.
The Bottom Line
For liquid and cream makeup, wet the sponge, squeeze it until it feels only cool, and bounce. For powder, keep it dry. That one distinction fixes most streaks and wasted foundation.
Then look after the sponge: wash it, dry it in the open, and replace it on a schedule. For the evidence, see the Medical News Today report on the Aston University study and the Beautyblender product guidance.



2 Comments