

Beauty Blender vs Foundation Brush: Which Gives a Better Finish?
Ask ten makeup fans to settle the beauty blender vs foundation brush question and you will get ten confident answers. Yet the two tools are not really rivals. They lay down the same foundation in two different ways, so each one wins at a different job.
Quick answer: a damp blending sponge gives a softer, more skin-like finish with light to medium coverage, because it presses product on and lifts a little back off. A dense synthetic foundation brush gives more coverage and builds faster, because it deposits more product and buffs it flat. Choose the sponge for a natural look and the brush for coverage and speed. Whichever you pick, the sponge needs more cleaning.
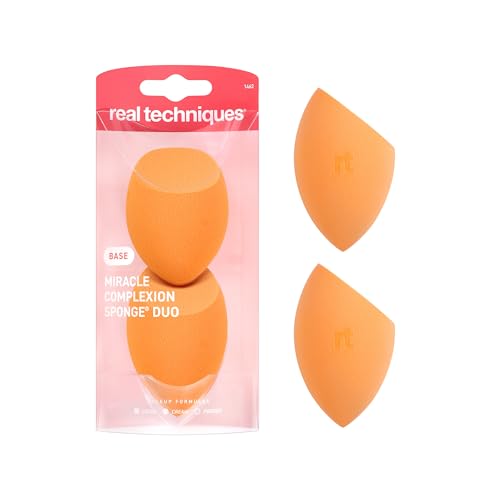
The brands say much the same thing. Real Techniques describes its sponge as giving light to medium coverage with a dewy finish. Sigma, by contrast, rates its best-selling flat kabuki brush at medium to full coverage. Hygiene is where the gap widens. In a UK study of used makeup, sponges carried far more bacteria than any other product type tested, and most had never been washed.
So the better finish depends on your formula, your skin and how much time you have. Technique matters too: a dragged sponge streaks, and a brush used with too much product looks heavy.
This guide compares how each tool works, then offers a quick picker, a side-by-side table, steps for both, the cleaning gap and the mistakes behind patchy results.
Recommended Blending Sponges and Foundation Brushes
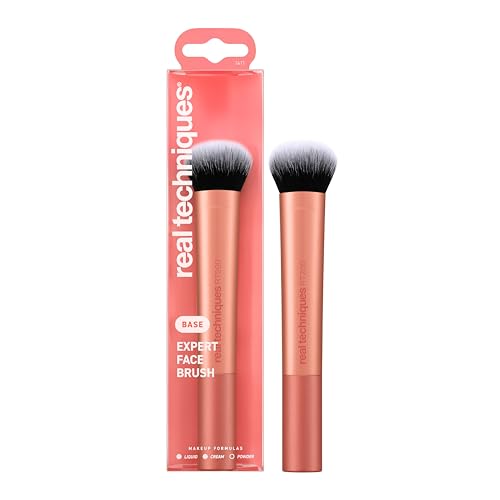
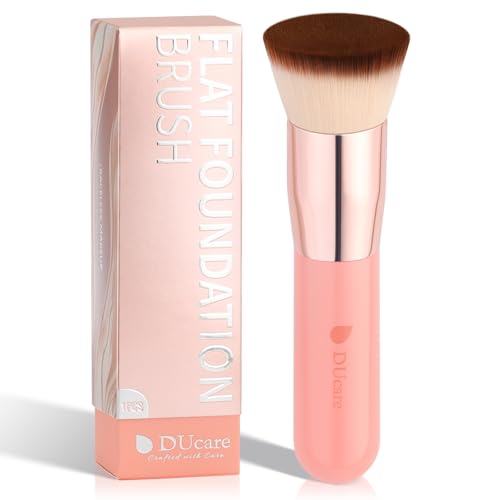
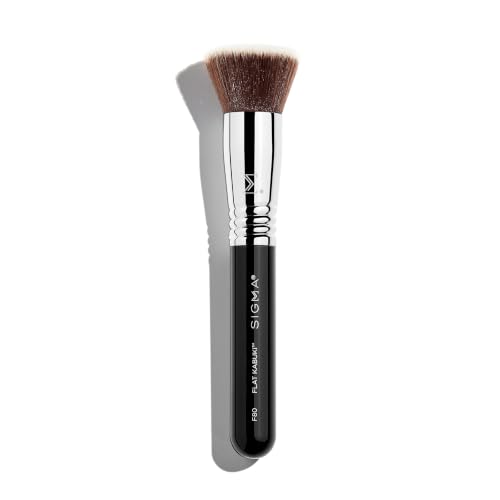
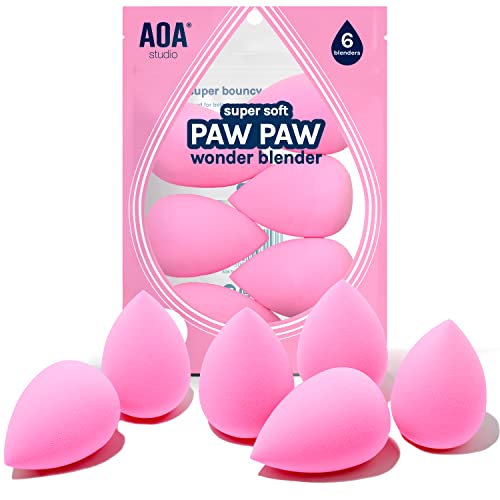
The picks below mix both sides of the comparison: three blending sponges, including a multi-pack you can rotate, and four dense foundation brushes with flat or rounded heads for liquid and cream formulas. Use the picker further down to decide which side to start with. See how we test and choose products for the rules behind every pick.


Key Takeaways
- A damp sponge presses foundation into the skin and lifts some back off, so it tends to give a sheerer, softer finish.
- A dense synthetic brush deposits more product and buffs it flat, so it builds coverage faster.
- Technique changes the result more than the tool: bounce a sponge, and stipple then buff with a brush.
- Sponges must be used damp, which also makes them harder to keep clean.
- Lab tests on used makeup found sponges carried far higher bacterial loads than lipsticks, mascaras or eyeliners.
- Brand advice on replacing sponges ranges from every 30 days to every few months; brushes last much longer with care.
- Many people get the best result by using both: a brush to apply, then a damp sponge to blend.

The “Better Finish” Myth
Most comparisons crown a winner. Sponge fans say brushes leave streaks. Brush fans say sponges waste product and look patchy. Both complaints are real, but each one usually describes a technique problem rather than a tool problem.
There is also no single “better” finish. Some people want skin to show through, with a soft glow. Others want an even, polished base that hides redness. Those are different goals, so the right tool changes with the goal.
That is why this comparison asks a narrower question. Which tool gives the finish you want, with the foundation you own, on the skin you have? Once you frame it that way, the answer is usually obvious.
Beauty Blender vs Foundation Brush: How Each Tool Moves Foundation
The two tools touch your skin in opposite ways. A sponge works by pressure. A brush works by sweeping and packing.
Think of a blending sponge as a soft foam full of tiny open pores. When it is damp, those pores are already partly filled with water. As a result, the sponge holds foundation near its surface. Each bounce presses a thin layer onto the skin and then lifts a little back off. In other words, the sponge sheers the product out as it goes, which is why the finish often looks closer to skin.
Beautyblender’s own guide spells out the method. Hold the sponge under running water until it is fully wet; it will roughly double in size. Then squeeze out the excess and bounce it across the skin. The brand also warns against dragging the sponge, because swiping only moves product around and can leave streaks.
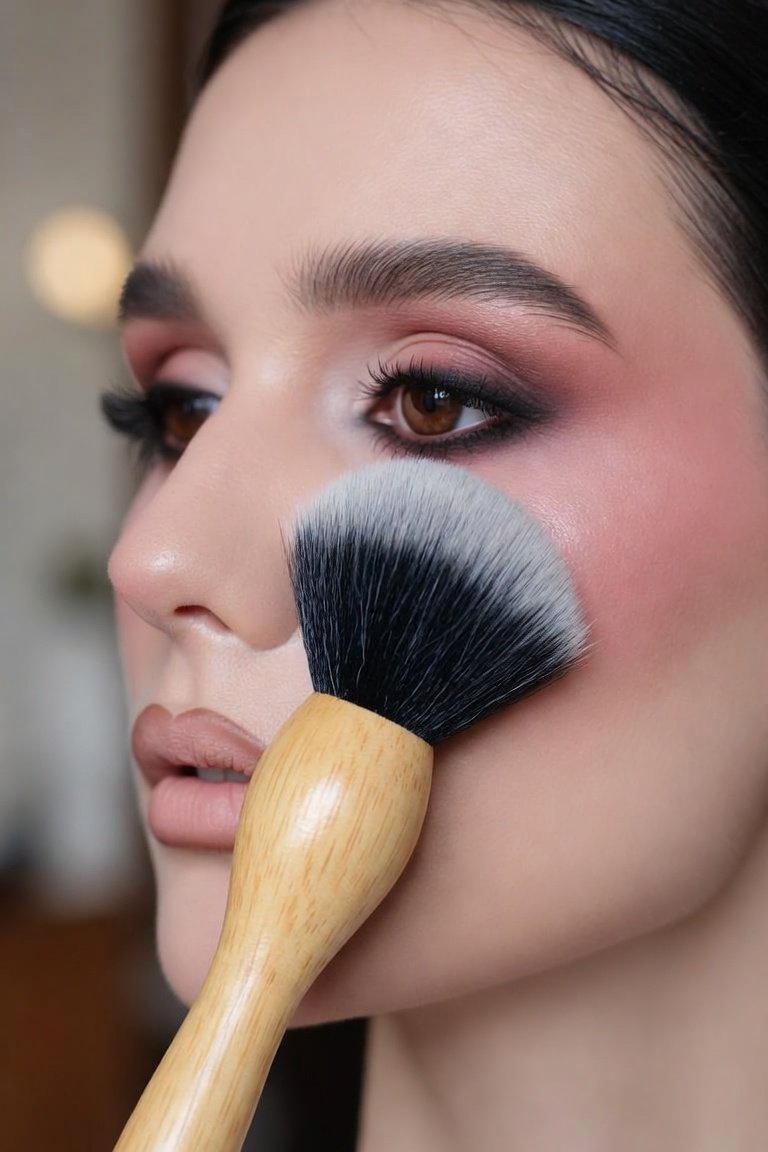
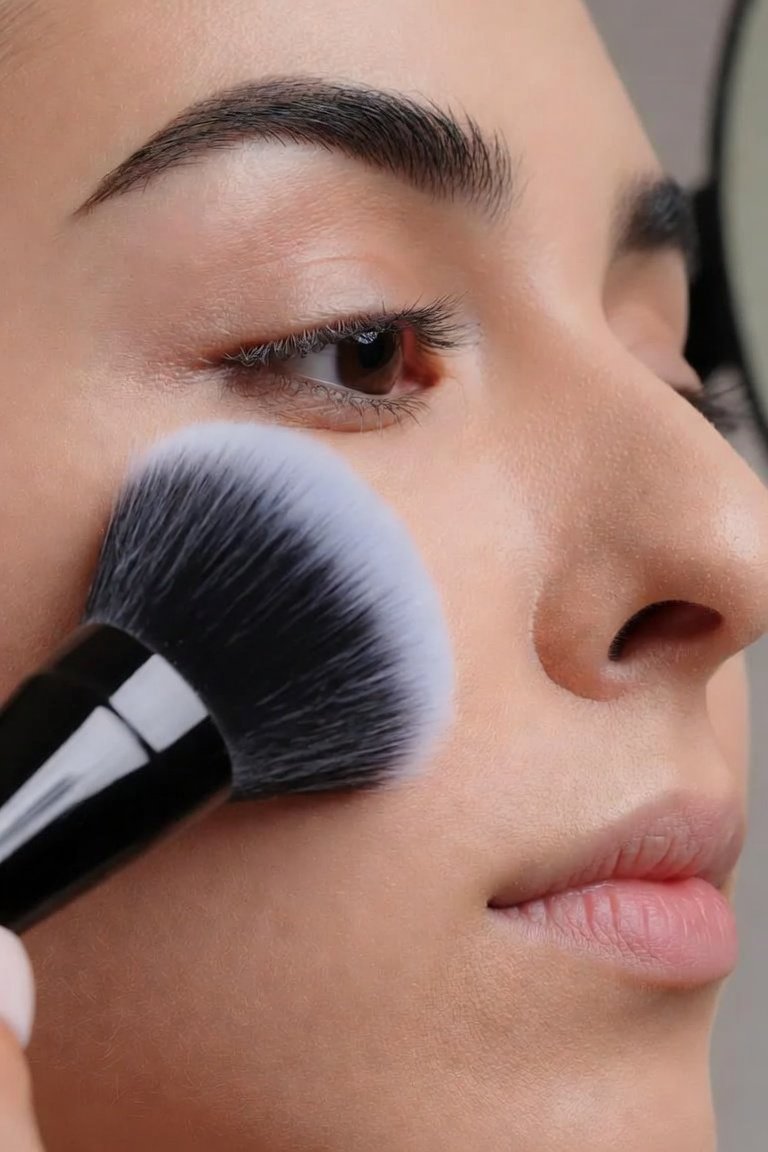
A foundation brush, on the other hand, is a dense bundle of fibres. Modern foundation brushes are usually synthetic. The fibres do not soak up much liquid, so more of the product ends up on your face. The brush also pushes foundation into an even film as you move it. For that reason, a brush tends to give more coverage per layer and works faster across the whole face.
Brand descriptions line up with this. Sigma says to stipple foundation on with its F80 flat kabuki and then blend with circular motions, and it rates the brush at medium to full coverage. Real Techniques, meanwhile, describes its Miracle Complexion Sponge as giving light to medium coverage with a dewy finish.
Beauty Blender vs Foundation Brush: A Quick Picker
Read each line and note which side describes you better. Then count your answers.
Lean toward a sponge if:
- You want your skin texture and freckles to show through.
- Your foundation is sheer, dewy or a skin tint.
- Your skin is dry and you dislike a matte, flat look.
- You often blend concealer under the eyes or around the nose.
- You will rinse the sponge after every use and let it dry fully.
Lean toward a brush if:
- You want even coverage over redness or marks.
- Your foundation is medium to full coverage, or a thick cream.
- Speed matters and you want to finish your base quickly.
- You want a tool that lasts and is easier to keep clean.
- Your bathroom is humid, with little space to air-dry tools.
Mostly sponge: start with a damp sponge and a light layer. Mostly brush: start with a dense synthetic flat-top or rounded brush. A mix: use the combined method in the section on using both tools.
Still unsure? Then start with the tool that matches your foundation. Its label usually tells you the intended coverage, and the tool should support that, not fight it.
Beauty Blender vs Foundation Brush Side by Side
This table sums up the practical differences. It reflects how each tool works and what the brands themselves say, not lab tests of finish.
| Factor | Damp blending sponge | Dense foundation brush |
|---|---|---|
| Typical finish | Soft, sheer, skin-like; often dewy | Smooth and even; can look polished or airbrushed |
| Coverage per layer | Light to medium; build with extra layers | Medium to full; builds quickly |
| Speed | Slower; many small presses | Faster across large areas |
| Product used | Some stays in the sponge | Less is held back in the fibres |
| Detail work | Pointed tip suits under-eyes and the nose | Needs a smaller brush for tight areas |
| Prep | Must be wet and squeezed first | Used dry |
| Cleaning | Rinse after each use; dries slowly | Wash every 7 to 10 days; dries faster |
| Lifespan | Weeks to a few months | Years, with good care |
Notice that neither column says “flawless”. Both tools can look streaky, heavy or patchy when the method is off. The next section explains why.
Bouncing, Stippling, Buffing and Dragging: Not the Same Thing
Many guides treat these four motions as interchangeable. They are not. Each one moves product differently, and using the wrong one is the main cause of streaks and patches.
| Motion | What it does | Best tool | Typical result |
|---|---|---|---|
| Bouncing | Quick presses straight onto the skin | Damp sponge | Sheer, seamless layer that keeps skin texture visible |
| Stippling | Tapping the brush tips onto the skin | Flat-top or duo-fibre brush | Places product without moving it; adds coverage |
| Buffing | Small circles with light pressure | Dense flat-top or domed brush | Even, smooth film with soft edges |
| Dragging or swiping | Long strokes across the face | Neither, for most formulas | Streaks, brush lines and moved product |
So a sponge should bounce, and a brush should stipple then buff. Beautyblender and Sigma both describe their tools this way. A few flat paddle brushes are designed for strokes, but the common dense kabuki style is not.
Matching the Tool to Your Formula and Skin
Foundation formula matters as much as skin type. A thin, watery product behaves very differently from a thick cream.
- Skin tints and sheer liquids: a damp sponge keeps them light. However, a brush can also work if you use very little.
- Medium-coverage liquids: either tool works. Choose the sponge for a softer look and the brush for more even coverage.
- Full-coverage liquids: a dense brush builds coverage without many layers. Then a light pass with a damp sponge can soften the edges.
- Creams and sticks: a dense brush moves thick product more easily. Also, warming the cream on the back of your hand first helps.
- Powder foundation: usually a fluffy or kabuki-style powder brush, not a liquid foundation brush.
Skin type adds a second layer. Dry or flaky skin can catch product. A damp sponge tends to look softer here, but a dense brush with light pressure can also smooth over dry patches. Oily skin, meanwhile, often suits a brush and a thin layer, because water from a damp sponge can make some matte formulas look patchy. Textured skin, such as visible pores or old acne marks, usually looks best with thin layers from either tool rather than one heavy pass.
How to Apply Foundation With a Sponge or a Brush
These steps cover both tools. The first few prepare your skin and tool. Then the method splits by tool and comes back together for the finish.
- Prep your skin. Apply moisturizer and any primer, then wait a few minutes so the base does not slide.
- Prep the tool. For a sponge, wet it fully under running water and squeeze it until it no longer drips. For a brush, start with clean, completely dry fibres.
- Dot on a small amount. Place a little foundation on the back of your hand, or dot it on the center of your face. Start with less than you think you need.
- Apply with the right motion. Bounce the sponge in quick presses from the center of the face outward. With a brush, stipple product into place, then buff in small circles.
- Use the edges and tips. Use the sponge’s pointed tip, or a small brush, around the nose, under the eyes and along the hairline.
- Build only where needed. Add a second thin layer to areas with redness or marks instead of covering the whole face again.
- Check in daylight. Look at the jawline and hairline for edges, then blend any lines with a clean part of the tool.
- Clean up right away. Rinse the sponge and let it air-dry in an open space. Wipe the brush, and add it to your weekly wash.
The Real Techniques sponge page adds a useful detail for that brand’s shape. It suggests the flat edge to apply and cover, the round sides to blend and the tip for concealing.
Beauty Blender vs Foundation Brush? Try Both Together
You do not have to choose. In fact, many people combine them, because the method pairs the coverage of a brush with the softness of a sponge.
First, apply and buff foundation with a dense brush to get even coverage quickly. Next, press a damp sponge over the face. The sponge lifts a little excess product and softens any brush marks. As a result, the base often looks less heavy than brush alone and more even than sponge alone.
The trade-off is time and cleaning. You will have two tools to wash instead of one. Still, if neither tool alone gives you the finish you want, this is the first thing to try.
Brush shape also changes the result. A dense buffing head gives an even film, while a duo-fibre stippling brush gives a lighter, airbrushed look. The related guides at the end of this article cover both shapes.
Hygiene, Cleaning and Replacement
This is where the two tools differ most. A sponge is used wet and holds moisture deep inside its foam. Because of that, it can stay damp for hours after use, especially in a closed bag or a humid bathroom.
The best evidence comes from a 2020 study in the Journal of Applied Microbiology. Amreen Bashir and Peter Lambert of Aston University tested used lipsticks, lip glosses, eyeliners, mascaras and beauty sponges donated by UK users. According to the study abstract, most products in every category carried bacteria. However, the sponges had by far the highest average bacterial load. Fungi turned up in about 57 percent of them. In addition, 93 percent had never been cleaned, and 64 percent had been dropped on the floor and then used again.
The study did not test brushes, so it cannot rank the two tools directly. Still, the American Academy of Dermatology warns that dirty brushes can also cause breakouts, rashes and infections. It recommends washing brushes every 7 to 10 days.
| Care step | Blending sponge | Foundation brush |
|---|---|---|
| After each use | Rinse until the water runs clear (Beautyblender advises cleaning after every use) | Wipe the fibres; MAC suggests a cloth dampened with brush cleanser |
| Deep clean | Real Techniques suggests a gel cleanser weekly | Wash every 7 to 10 days with gentle shampoo (AAD) |
| Drying | Air-dry fully in a well-ventilated spot | Lay flat with the head over the edge of a counter, never upright |
| Replace | Every 30 days (Real Techniques) to every 3 to 6 months (Beautyblender), or sooner if torn, stained or smelly | When fibres shed, splay or no longer spring back |
Why brushes are easier to keep clean
Synthetic brush fibres also help here. MAC describes the fibres of its 170 foundation brush as non-porous, which makes cleaning easier. As a result, a brush that is washed on schedule and dried flat is simpler to keep in good condition than a sponge.
Mistakes Behind Patchy Foundation
Most “this tool does not work for me” stories trace back to a few habits. Fix these first before you switch tools.
- Wet and squeeze a sponge before every use
- Bounce a sponge; stipple and buff with a brush
- Start with a small amount of product
- Build coverage only where you need it
- Let a sponge dry fully in open air
- Wash brushes every 7 to 10 days
- Use a dry sponge with liquid foundation
- Swipe a sponge or drag a brush across the face
- Load a brush with a large blob of product
- Press hard to “push in” foundation
- Store a damp sponge in a closed bag
- Dry brushes upright in a cup
Two problems deserve a closer look. Streaks usually come from dragging or from too much product on a brush. Cakey patches, in contrast, often come from layering over dry flakes or applying a second coat before the first has settled. Thin layers and a light hand solve both.
Honest Limits
There is no independent lab test comparing the finish of a sponge and a brush. The finish claims in this guide come from how the tools work and from brand descriptions, which are written to sell. Your own skin, foundation and lighting will matter more than any general rule.
The hygiene research also has limits. The Aston study measured microbes on used products; it did not track infections in the people who used them. In addition, it did not include brushes, so it cannot show that brushes are cleaner in practice. A neglected brush can still collect bacteria and old makeup.
Finally, the replacement advice varies by brand. Real Techniques says every 30 days, while Beautyblender says every 3 to 6 months. Neither figure is a tested limit, so condition and cleaning habits are the better guide.
When to See a Professional
Most finish problems are easy to fix at home. Still, some situations call for an expert.
- See a dermatologist if your skin breaks out, itches or burns after you apply foundation, even with clean tools.
- Get medical advice for a rash, a painful bump or signs of infection where you apply makeup.
- Book a makeup artist lesson if neither tool gives you an even base after several tries.
- Ask a dermatologist about acne, rosacea or very dry patches, because the base will only look as smooth as the skin under it.
- Choosing a foundation brush: dense heads and shapes for liquid formulas.
- Buffing brush guide: circular blending for an even, smooth base.
- Stippling brush basics: duo-fibre heads for a light, airbrushed look.
- Beauty sponge damp or dry: when each gives a better finish.
- Cleaning a stained beauty blender: what comes out and what means replace.
Frequently Asked Questions
Beauty blender vs foundation brush: which gives more coverage?
Usually the brush. A dense synthetic brush deposits more product per layer, while a damp sponge sheers it out. You can still build coverage with a sponge by adding thin layers.
Which is better for a natural finish?
A damp sponge, in most cases. It presses on a thin layer and lifts some back off, so more skin texture shows through.
Beauty blender vs foundation brush: which wastes less foundation?
A brush tends to hold back less product, because synthetic fibres do not soak it up. Using a well-dampened sponge reduces how much the sponge absorbs.
Should a beauty blender be wet or dry?
Wet. Beautyblender and Real Techniques both say to wet the sponge before use, then squeeze out the excess so it does not drip.
Why does my sponge leave streaks?
Usually because it is being swiped instead of bounced. Press it straight onto the skin with quick, light taps.
Beauty blender vs foundation brush: which is more hygienic?
A clean brush is easier to keep hygienic. Sponges stay damp, and a UK study found used sponges carried much higher bacterial loads than other used makeup.
How often should I clean each tool?
Rinse a sponge after every use. Wash brushes every 7 to 10 days, as the AAD advises, and wipe them between washes.
How often should I replace a makeup sponge?
Brand advice ranges from every 30 days to every 3 to 6 months. Replace it sooner if it tears, smells, stains or hardens.
Can I use both tools together?
Yes. Apply and buff with a brush, then press a damp sponge over the top to soften brush marks and lift excess product.
Beauty blender vs foundation brush: which is better for dry skin?
A damp sponge often looks softer on dry skin. However, a dense brush with light pressure can also smooth over flaky areas.
Beauty Blender vs Foundation Brush: The Bottom Line
Neither tool gives a better finish in every case. A damp sponge suits sheer, natural looks and detail work, while a dense brush suits coverage and speed. Your foundation’s coverage level is the simplest tiebreaker.
Whatever you choose, technique and hygiene decide the result. Bounce the sponge, stipple and buff with the brush, and use thin layers. Then rinse the sponge after every use, wash brushes every week or so, and replace sponges as soon as they show wear.


2 Comments