Blending Shears Guide: How to Use, Choose & Master Seamless Cuts
Blending shears (also called thinning or texturizing shears in some contexts) are one of the most essential yet misunderstood tools in a hairstylist’s kit. Unlike regular cutting shears that create clean, blunt lines, blending shears remove a controlled percentage of hair with each cut. This creates soft transitions, reduces bulk, softens harsh lines, and adds natural movement without drastically shortening length.
Whether you are a professional stylist refining layered cuts, a barber finishing fades, or someone learning at home, understanding how blending shears work—and when to use them—makes the difference between a good haircut and a polished, salon-quality result.
Best Sellers: Blending Shears




Also Read: Swivel Thumb Shears: Boost Comfort and Precision in Hair Cutting
What Are Blending Shears?
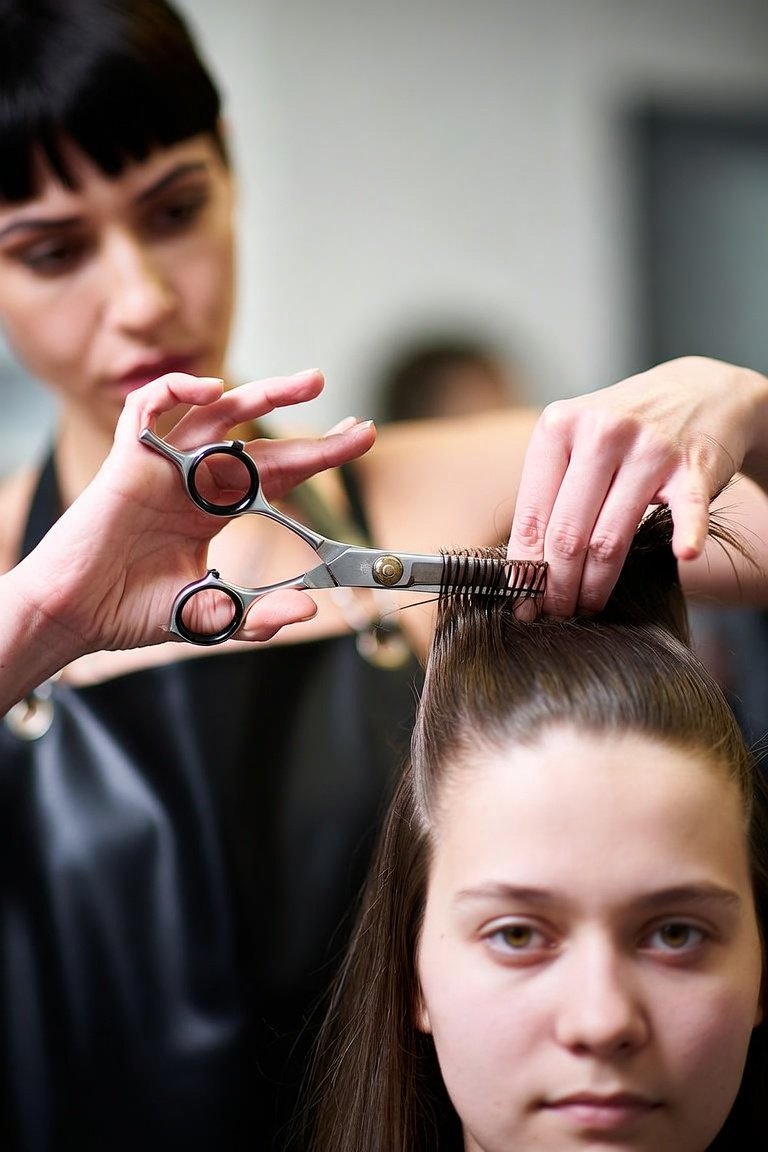
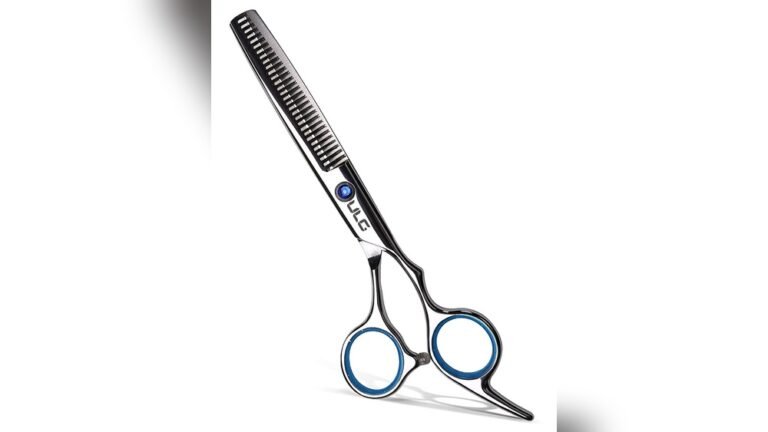
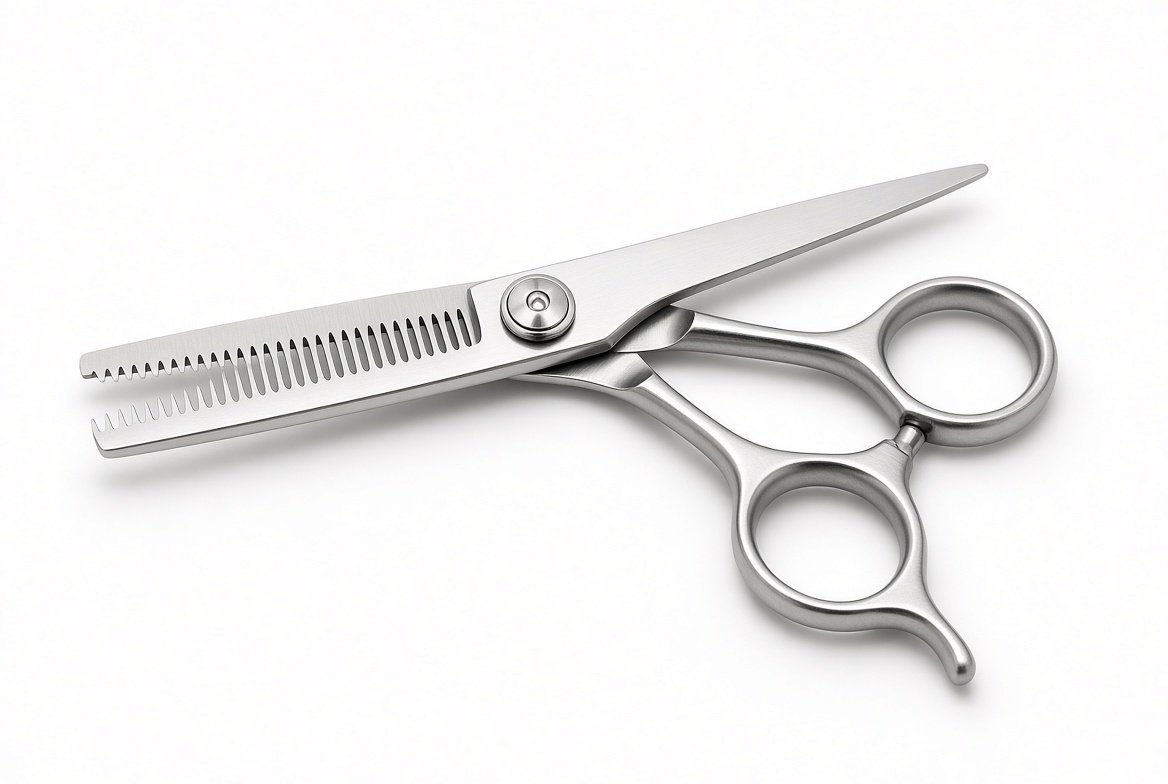
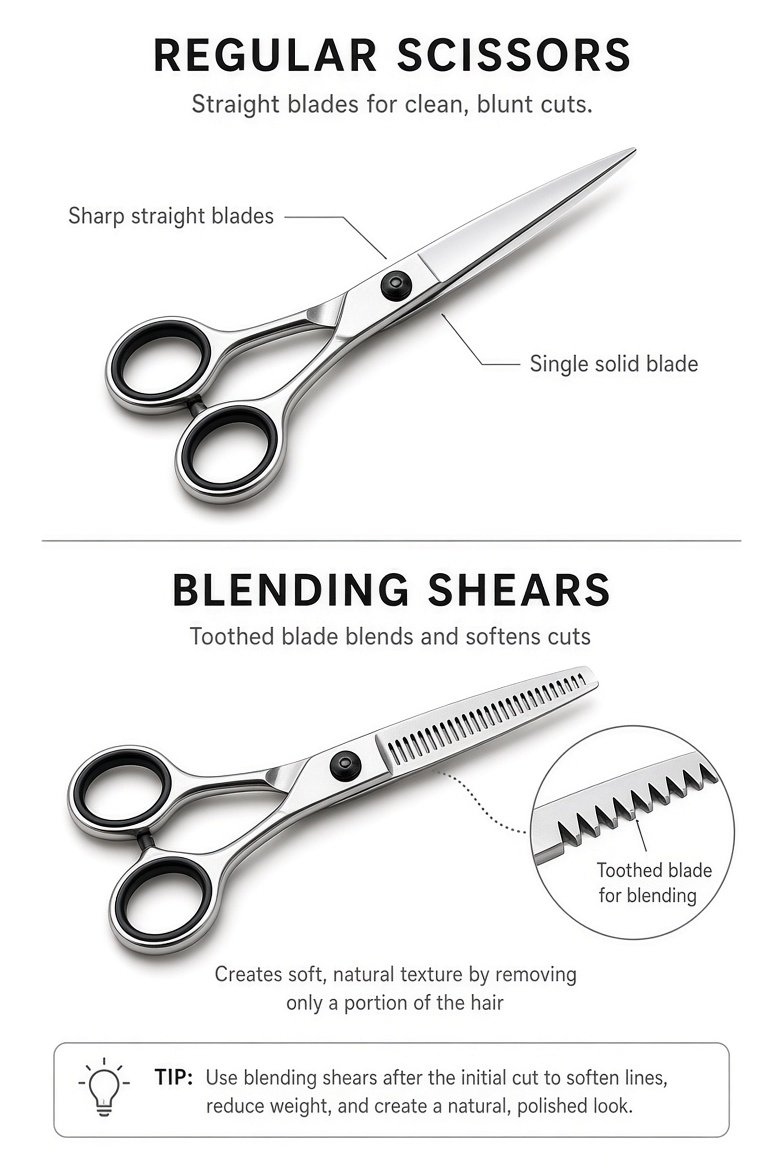
Blending shears feature one solid (blunt) blade and one blade with evenly spaced teeth. The teeth selectively cut only a portion of the hair strands while leaving the rest intact. Typical tooth counts range from 25–40+ for true blending work. Fewer, wider teeth remove more hair and create more visible texture (often called texturizing or chunking shears). Higher tooth counts deliver finer, nearly invisible blending.
Key design features include:
- One solid blade + one toothed blade
- Tooth density that controls how much hair is removed (higher teeth = softer effect)
- Often reversible or ambidextrous handles on professional models
- Blade lengths commonly 5.5–6.5 inches for precision control
Blending Shears vs. Thinning Shears vs. Texturizing Shears
Terminology varies by brand and region, which causes confusion. Here is the practical distinction most professionals use in 2026:
| Type | Typical Teeth | Hair Removal | Best For |
|---|---|---|---|
| Blending / Finishing Shears | 30–42+ fine teeth | 10–25% per pass | Softening lines, seamless layer transitions, refining ends |
| Thinning Shears | Often used interchangeably with blending | Similar to above | Bulk reduction without visible texture |
| Texturizing / Chunking Shears | 10–25 wider teeth | 30–70% per pass | Adding movement, removing heavy bulk, creating piecey texture |
Pro tip: Many stylists prefer the term “blending shears” because clients with fine or thinning hair react better to “blending” than “thinning.”
How to Use Blending Shears: Core Techniques
Always work on dry or nearly dry hair for accuracy. Wet hair swells and can lead to over-removal once it dries. Use light pressure and fewer passes—overworking creates holes or sparse ends that take months to grow out.
1. Softening Harsh Lines & Blending Layers
- Establish the shape first with regular cutting shears.
- Take a vertical or diagonal section.
- Position the solid blade underneath (or teeth on top, depending on model and preference).
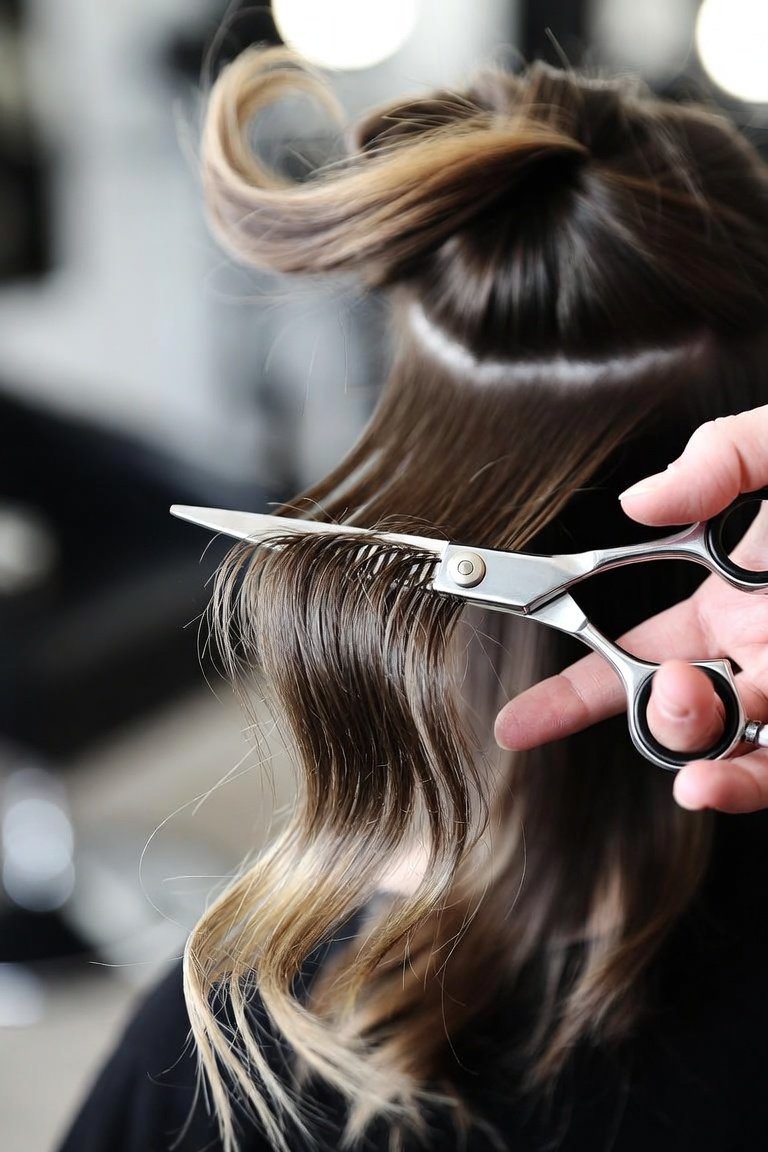
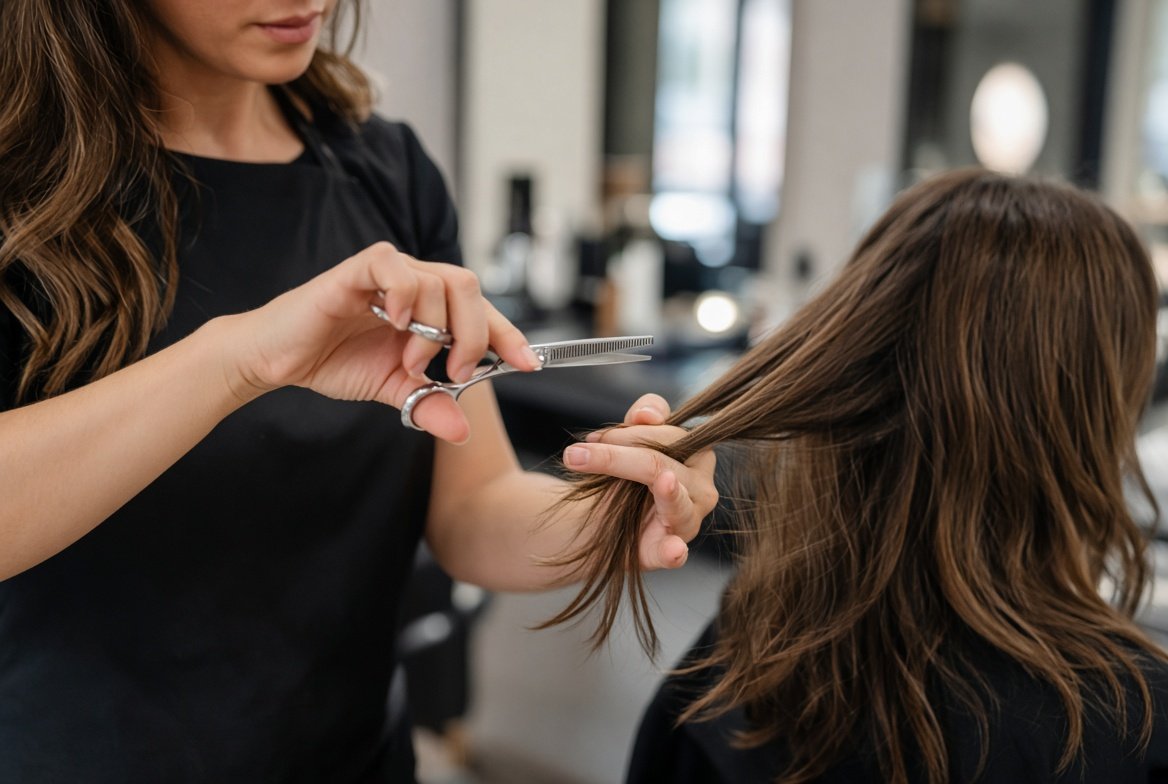
- Close the shears gently while sliding or point-cutting into the mid-lengths to ends.
- Comb through and check the blend. Repeat only where needed.
2. Scissor-Over-Comb with Blending Shears
Ideal for short hair, men’s cuts, and tapering. Lift hair on the comb and cut only what extends past the teeth of the comb using the blending shear. This creates soft, graduated weight removal instead of a hard line.
3. Slicing Technique for Thick or Coarse Hair
Elevate a vertical section. Insert the blending shears mid-shaft with teeth facing the direction of growth. Close and slide toward the ends in a controlled motion. This removes internal weight while preserving overall length and shape.
4. Point Cutting / Pinch & Slide for Texture
Pinch the ends, open the shears wide, and gently close while gliding down the section. Creates soft, wispy ends perfect for modern layered looks and bobs.
When to Reach for Blending Shears
- Softening blunt lines after a classic bob or one-length cut
- Blending disconnected layers or graduation
- Removing bulk from thick, dense, or coarse hair without losing length
- Refining fringes, face-framing pieces, and short textured styles
- Finishing men’s fades and scissor-over-comb work
- Creating subtle movement in fine or medium hair (use sparingly)
Avoid or use extreme caution on: Very fine or already sparse hair, wet hair, and the extreme perimeter if you want to keep a strong outline.
How to Choose the Right Blending Shears
- Tooth count: 30–40 teeth for everyday blending and finishing. Lower counts for aggressive debulking.
- Steel quality: Japanese 440C, VG-10, or higher cobalt alloys hold an edge longer.
- Handle design: Offset or crane handles reduce wrist strain. Reversible models offer versatility.
- Blade length: 5.5–6.25″ for most precision work; longer for scissor-over-comb.
- Tension system: Adjustable screw allows you to customize the feel.
Professional brands such as Sam Villa (especially reversible and InvisiBlend models), Hanzo, Sensei, and quality Japanese makers are widely trusted by working stylists.
Care & Maintenance Tips
- Clean after every use—hair and product buildup dulls teeth quickly.
- Oil the pivot regularly.
- Store in a protective case.
- Have them professionally sharpened by a specialist familiar with toothed blades (standard sharpening can damage the teeth).
- Check tension frequently; too loose causes folding, too tight causes fatigue.
Frequently Asked Questions
Can beginners use blending shears?
Yes, but practice on mannequin heads first. Start with higher tooth counts and light pressure. Less is more.
Do blending shears shorten hair length?
They remove some length on the cut strands, but the overall silhouette stays largely the same because uncut hair remains at the original length. The visual effect is softer weight and movement rather than a shorter cut.
Should I use blending shears on wet or dry hair?
Dry or towel-dried hair is strongly preferred for accuracy and control. Wet hair expands and can result in more removal than intended once it dries and contracts.
How often should I replace or sharpen blending shears?
With proper care and professional sharpening, quality shears last years. Sharpen when they start pushing hair instead of cutting cleanly.
What’s the biggest mistake stylists make with blending shears?
Overusing them in the same section or working too close to the roots on fine hair. This creates sparse, uneven areas that are difficult to correct until the hair grows out.
Final Thoughts
Blending shears are not a shortcut for poor cutting technique—they are a finishing and refining tool that elevates a solid foundation. Master the basics of weight distribution and line work with regular shears first, then use blending shears to polish, soften, and add the natural movement clients love.
When chosen and used correctly, blending shears help create the soft, seamless, lived-in finishes that define modern haircutting. Keep them sharp, use a light hand, and always check your work dry. The results speak for themselves.
Looking for more professional hair tool guides? Explore our full collection of shears, combs, and finishing tools on BeautyToolsGuide.com.